Hello lovelies, Vanessa with you today. Since we are altering books for the Season of Play, I thought I’d share a few pointers on how I have done that in the past. I have finished three altered books and am currently working in two of them (including the Season of Play). Unfortunately my very first altered book, which is Summer of Love based on a Kara Haupt workshop back in 2014, is in storage so I can’t share it.
What I will share is some tips on how to really integrate the actual pages of your book. I feel like if you are just covering up the pages completely, might as well use a blank journal, no? Here are some of my favorite ways to do this.
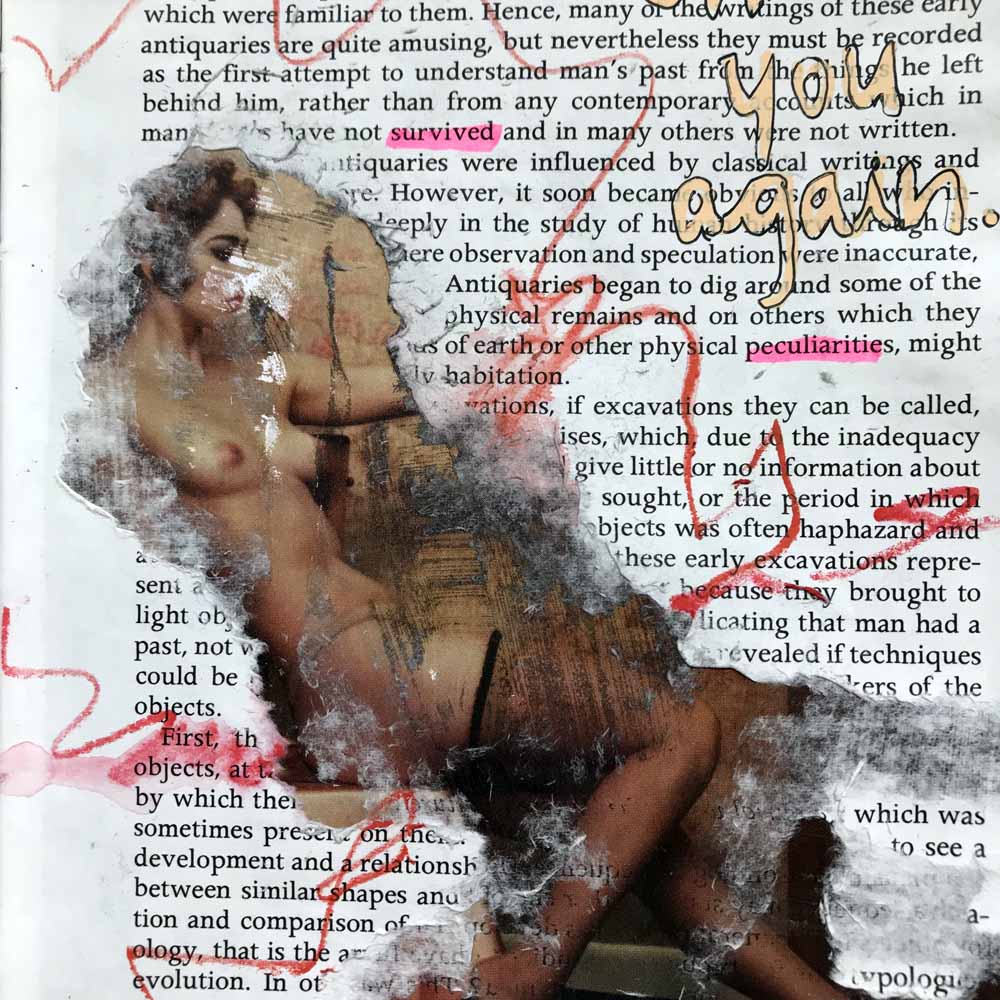
Tip 1: USE WHAT IS ON THE PAGE
This is the first and easiest method of really being in the book you are using. There are two elements to this idea: use the images that are in your book and use the words that are in your book.
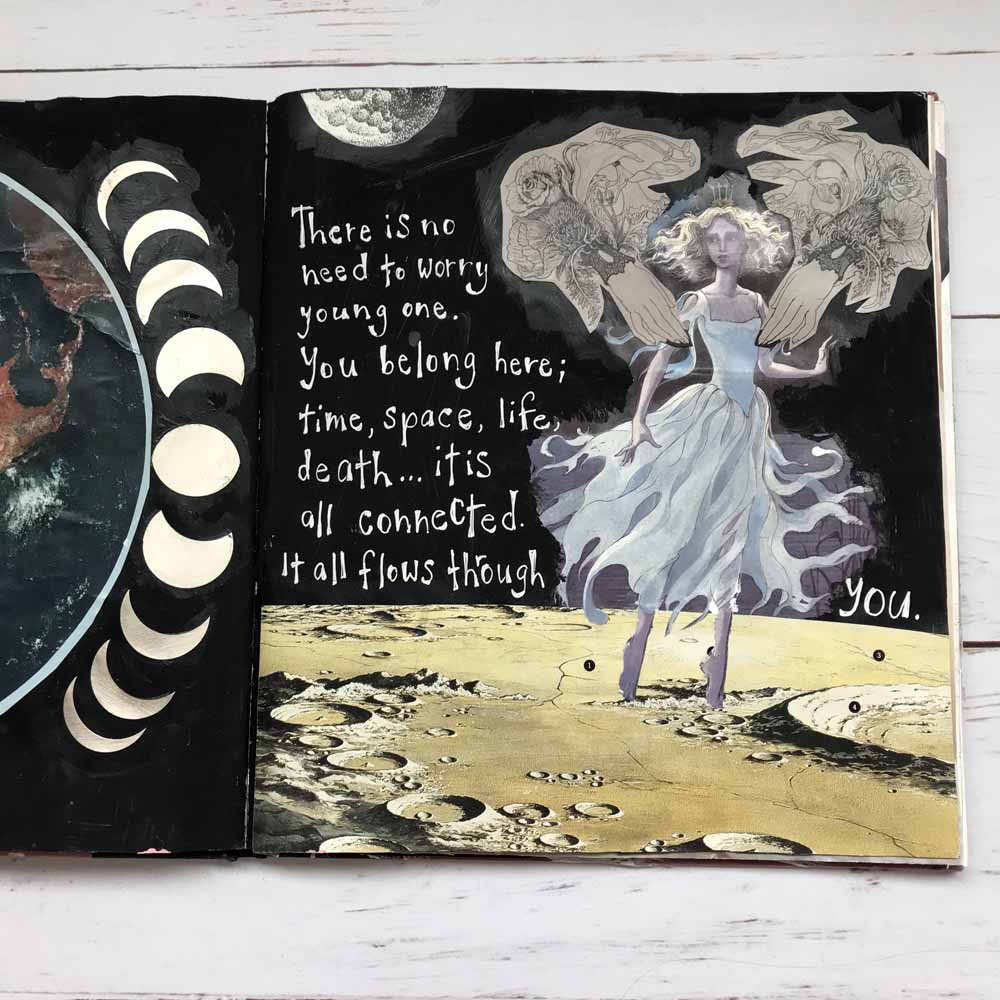
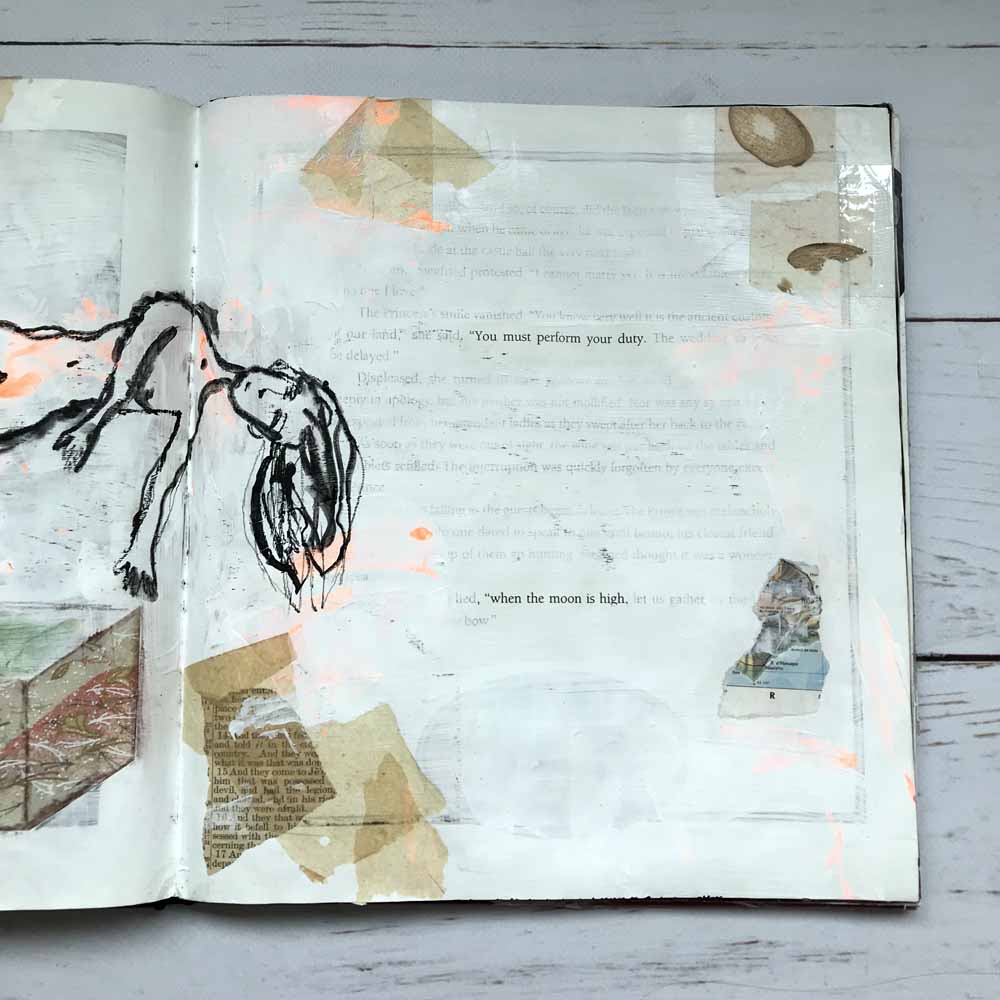
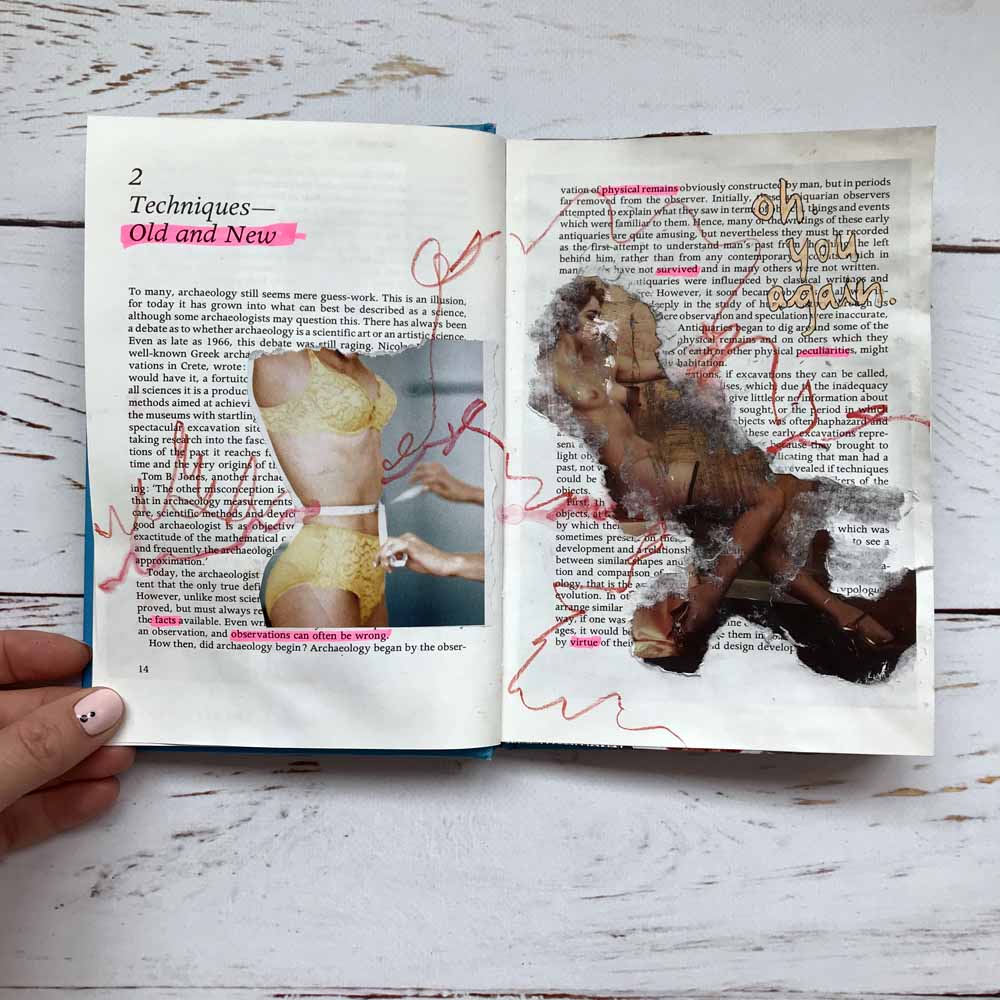
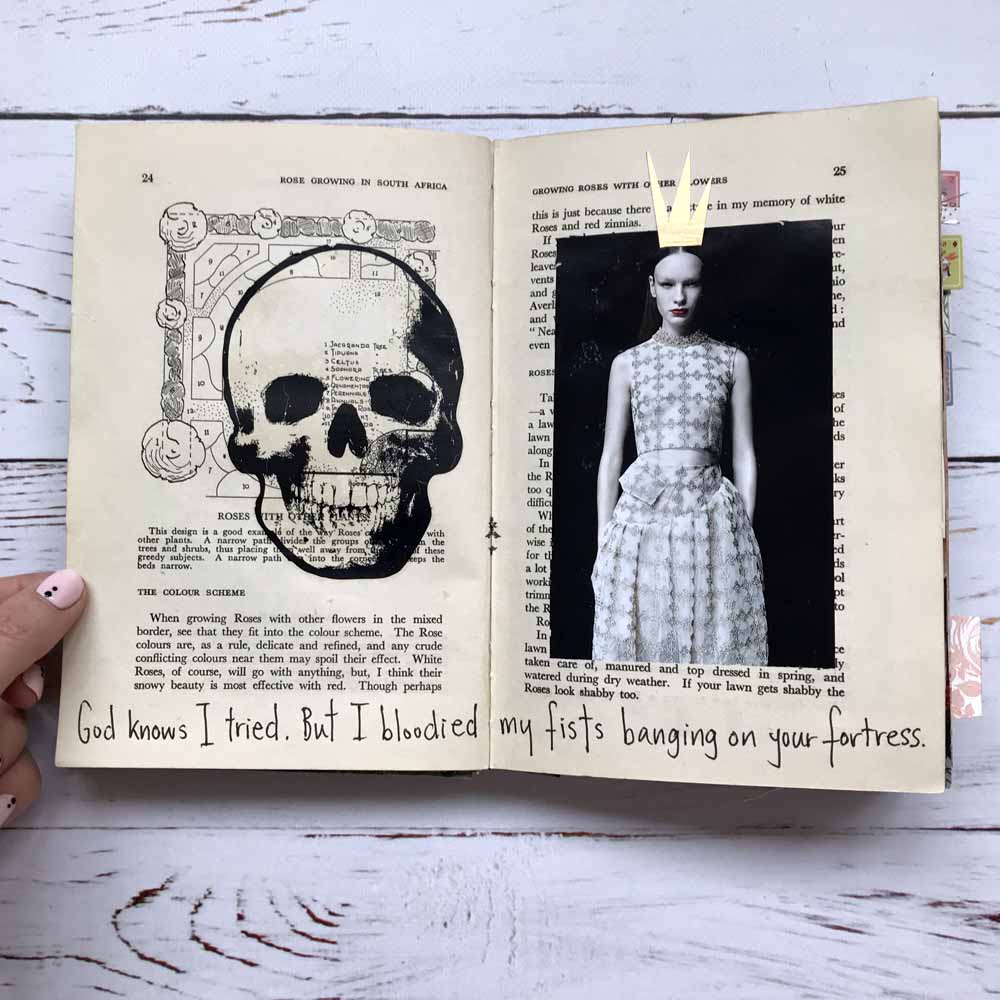
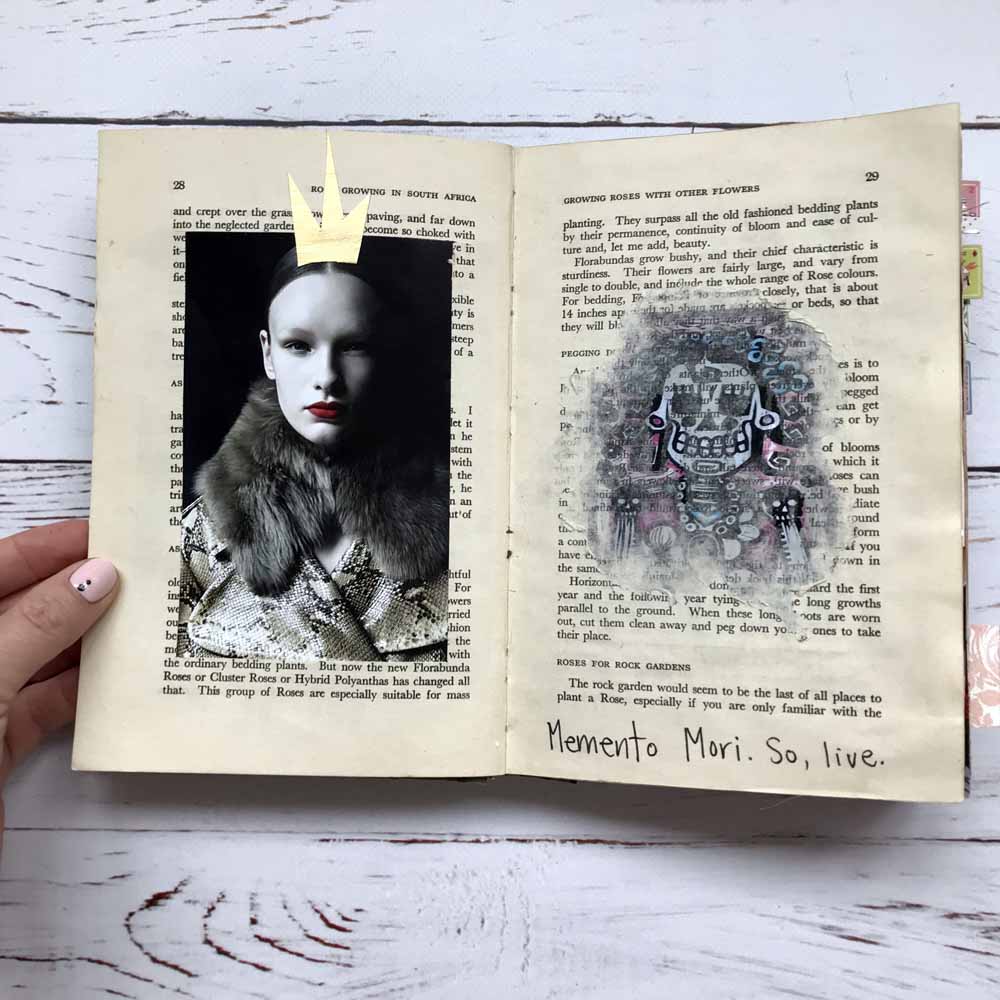
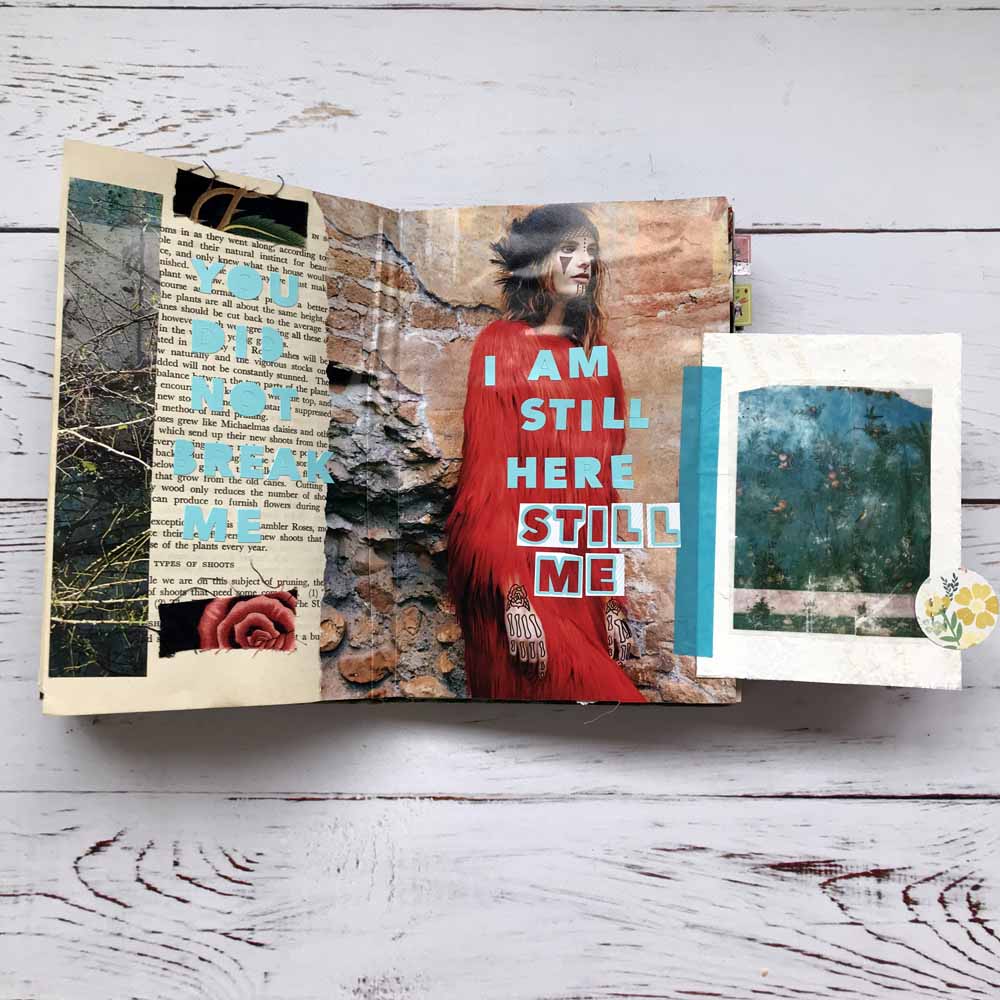
Using images: If your book has illustrations, try and single out parts of the image that work with whatever your page is about. In the first example, the woman was originally on the page and I added the hands and the moon under her feet.
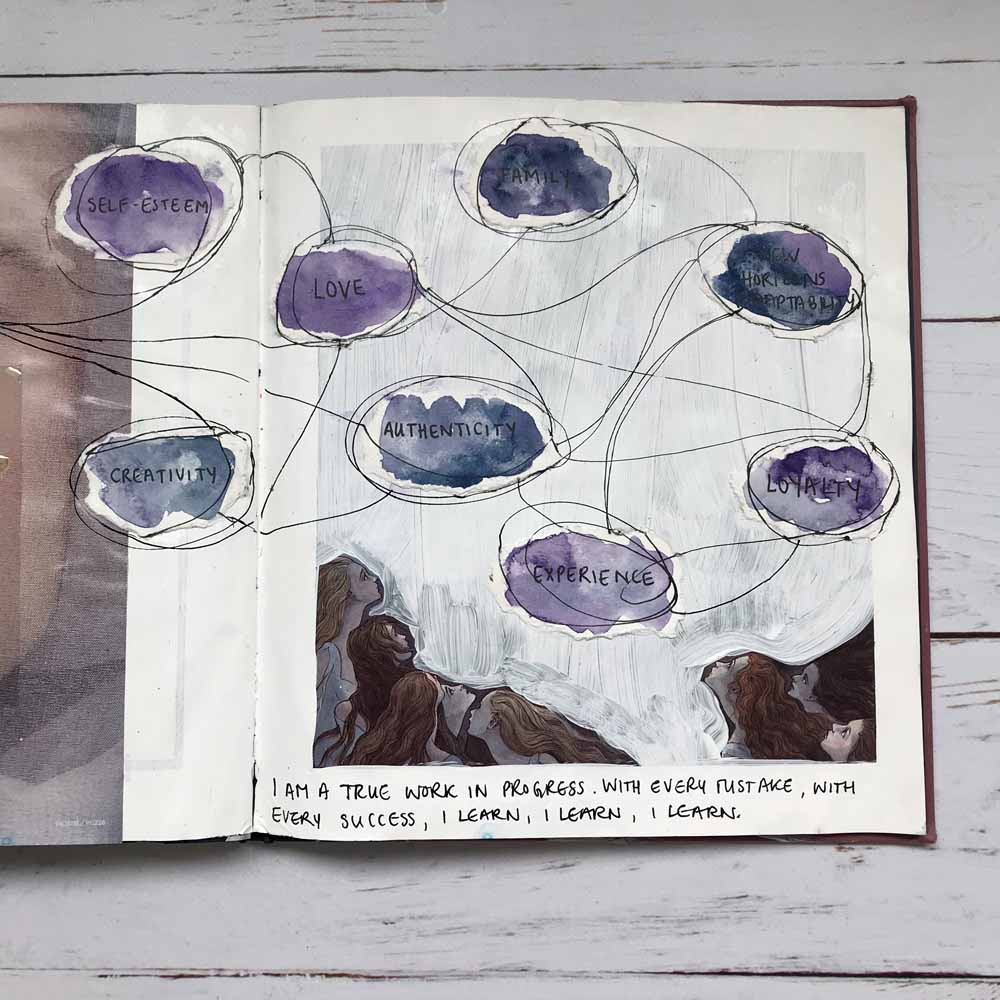
In this second example, the figures on the bottom were also already on the page.
You can also add illustrative elements or a quote that relates to what is already on your page:
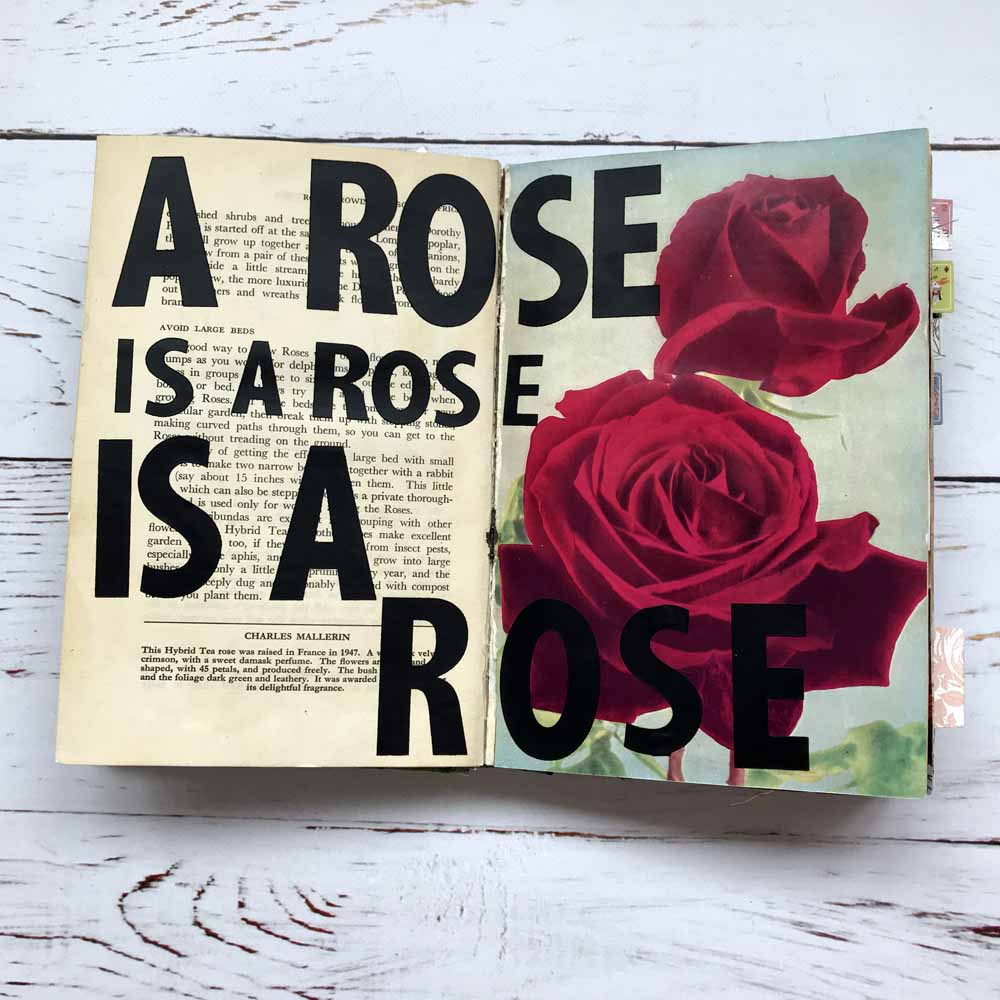
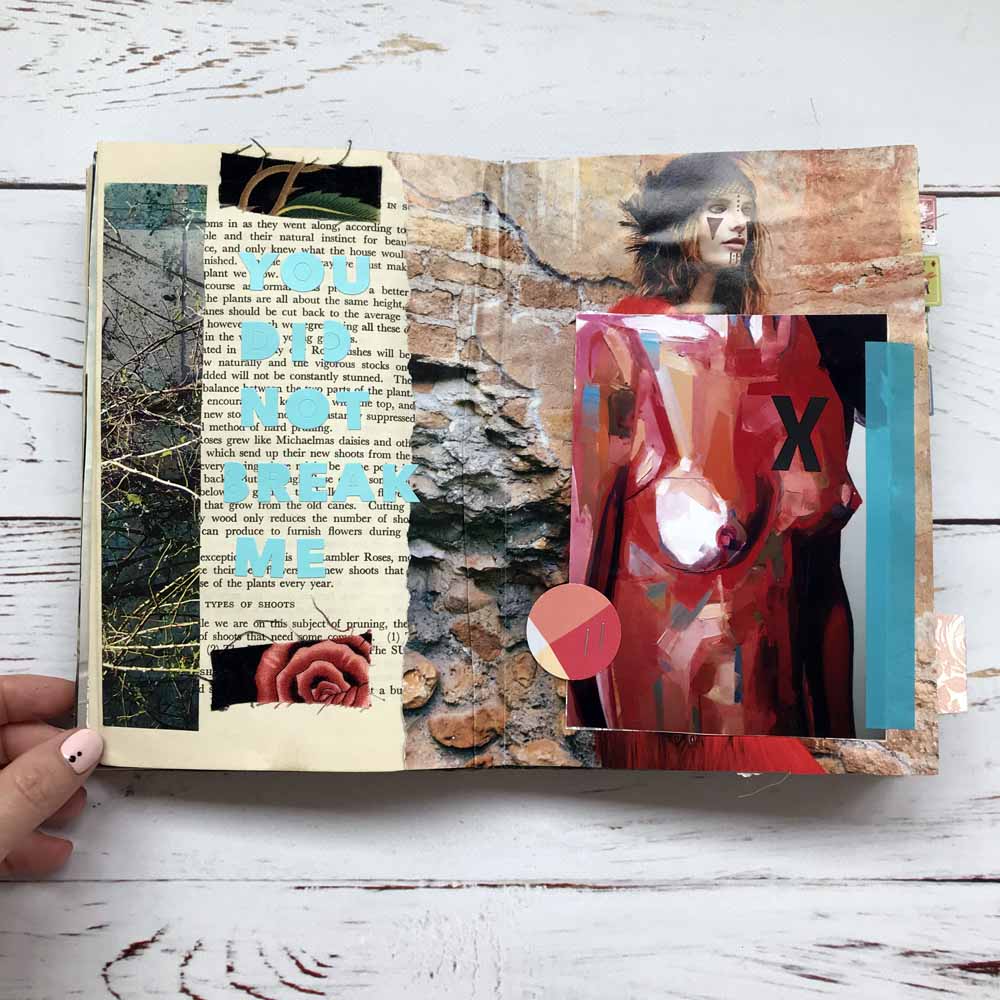
Using words: this is a simple and effective process. Find a page with text that speaks to you and highlight all the words that jump out at your. Find a decorative way to black out the rest of the words and bam! You have a poem on your page.
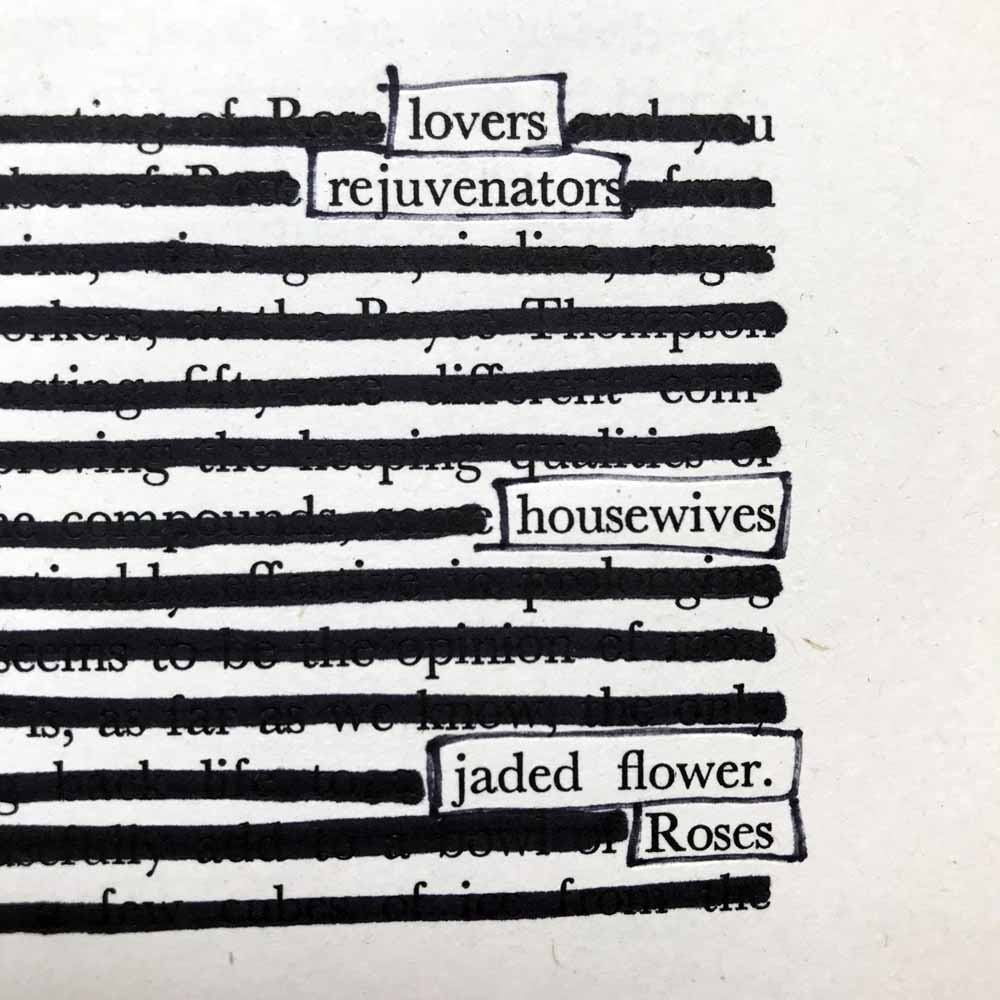
In this example below, I used a plain old highlighter to bring forth some of the words on the page as they related to what I was saying.
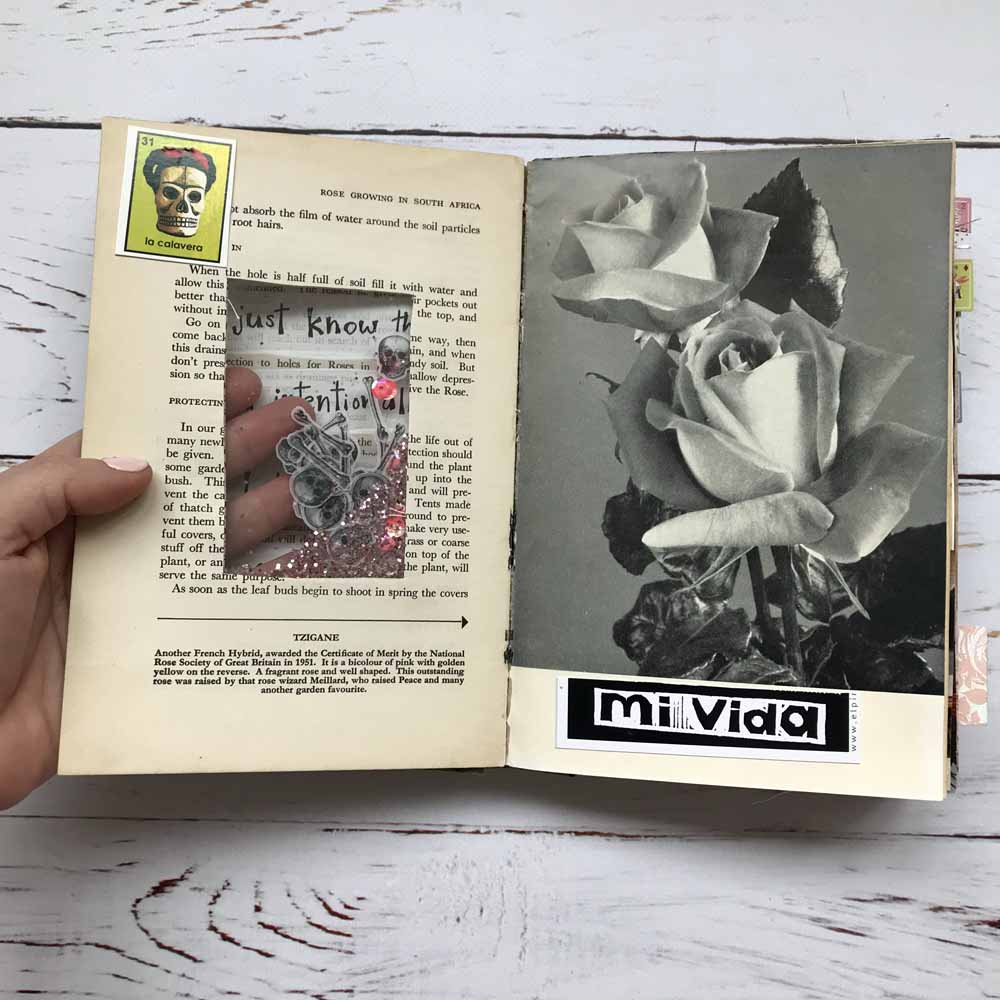
Tip 2: CUT-OUTS
Cut-outs are really fun because they add a measure of transparency to your pages or allow you to use both sides of an image. In the first example, I loved the photo of the two women I had chosen so I cut out a rectangle in two of my books pages, a rectangle that was just a little smaller than the image, essentially creating a frame. I added the image between the pages and glued the two frames together.
In this second example, I did the exact same thing but instead of an image, I made a shaker pocket with an acetate and added some vellum confetti, glitter and sequins. I love that it makes a window that shows the writing underneath.
Finally, for a super fun cutout effect, cut the same shape (I used a heart) in the center of a few pages, but keeping them attached to the spine. See what I mean in the video below.
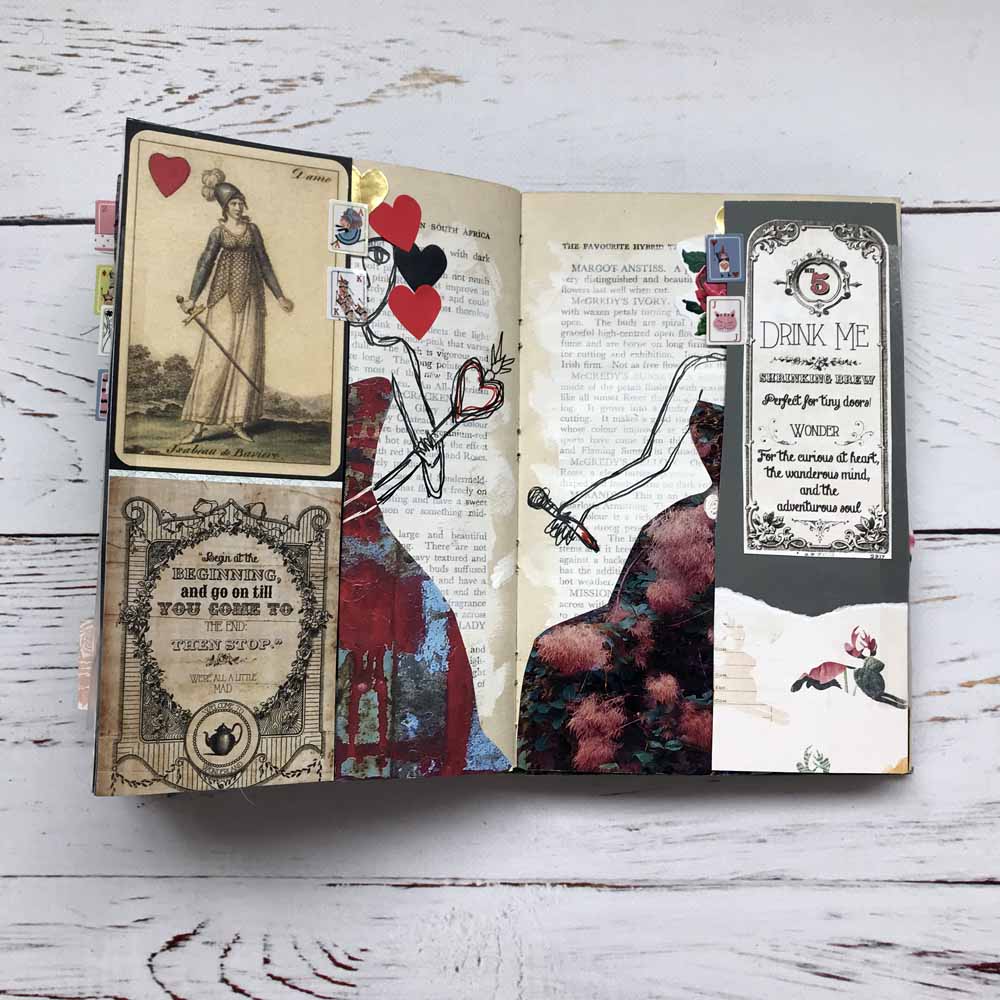
Tip 3: TIP-INS
Tip-ins are an easy way to add more pages to your book, add interaction or to hide any journaling that you don’t want to be too obvious. I’m showing you two ways to do this: flaps and envelopes. Envelopes are really self explanatory: just find one, put something special in in and glue it in.
Flaps are fun because you get a different feel depending on where you add them. In my first example, I used a 4 x 6 photo that I took at a Simon Birch exhibit and added it to my book using washi tape.
In the second example, I used plain old scotch tape to add flaps along the outside edge of each page. They close but don’t hide the spread completely.
Tip 4: PEEL AND REVEAL
I shared a tutorial on how to do this in the Season of Words. The method is simple. Sandwich an image between two pages using matte medium to seal the image and to glue the pages together. Leave to dry for about 2-3 hours.Then return to the top page, wet your finger and gently rub it on the top page. As the paper gets wet it will slowly peel away and reveal the image underneath.
Tip 5: OLD AND UNFOLD
This is something like origami! Folding pages creates a really interesting sense of interaction and mystery. You are drawn in by what is hidden in the folds themselves, what will they reveal? I love doing this when what is on the page isn’t inspiring to me. Then the actual substrate becomes interesting! See it in the video below.
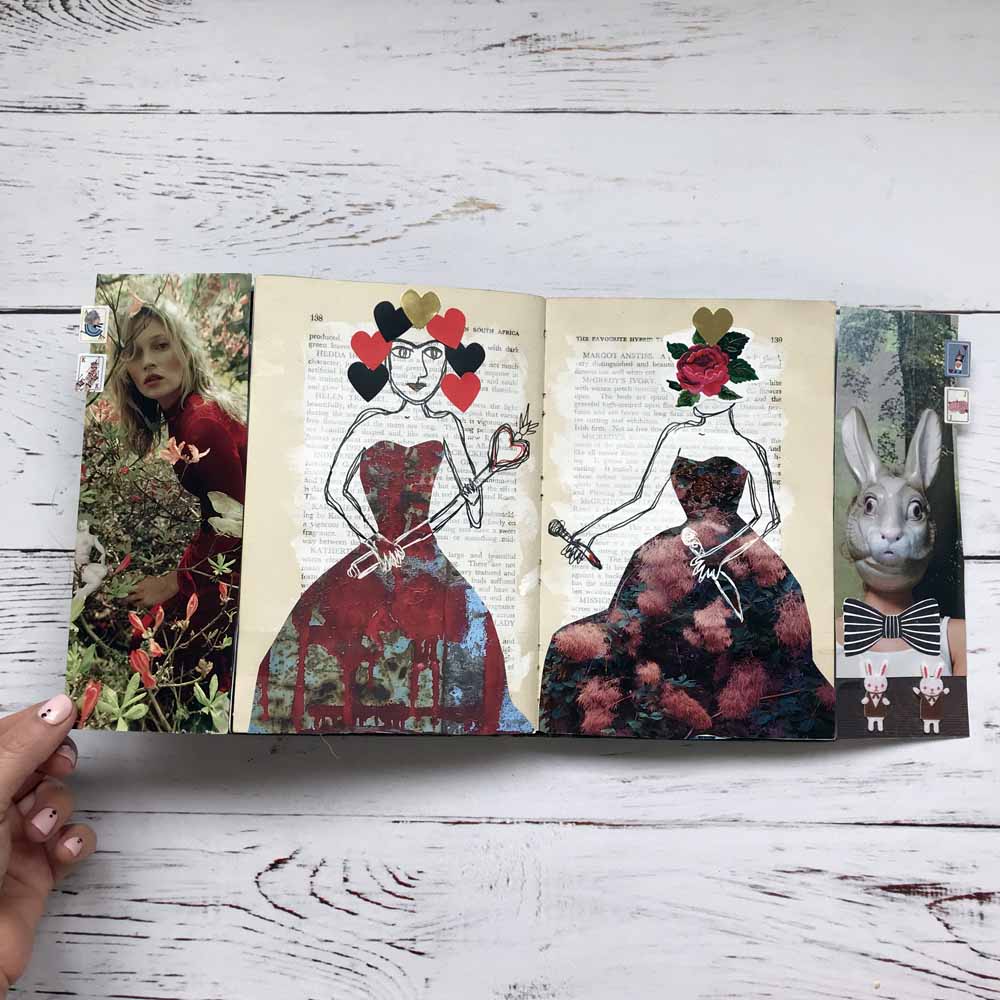
Tip 6: USE THE PAGES AS HINGES
I have two examples for you. In both of these you need to think a little bit ahead to see how many pages you need. I had so much fun figuring this out in my mind. In the first example, I wanted to have these bold words lay on top of the images but I also wanted them to move. So I singled out 6 consecutive pages for each double spread. I put an image on pages 1 and 6. I opened up pages 3 and 4 and wrote my words. Then I cut out the excess text on pages 3 and 4, which reveals the images on pages 1 and 6. Makes sense? See this in the video.
The last example uses the same method but this one is with a drawing rather than words. For this one, I used 4 pages rather than 6. I painted the figure on page 2, then I cut out the excess paper and painted the same figure (with eyes closed) on page 3. You can see how it hinges in the video below.
Tip 7: USE SUPPLIES YOUR NORMALLY WOULDN’T
Stickers! Stamps! Sequins! Letter stickers! Postcards! Instax photos! Put in all that stuff you are attracted to but that you feel doesn’t mesh with your art journaling aesthetic. There is so much freedom in trying something completely different.
Last piece of advice: gesso is your friend. If your pages are too thin for wet media or if they are too glossy, use clear gesso. It will strengthen them and give the page a nice tooth for you to work on top of. If you don’t like the colors in some of the images in your book, use a thin layer of white gesso to tone them down. And finally, want to highlight part of an image? Use black gesso to really make it stand out.
And the most important tip of all: have fun and PLAY!
As you can see, when you really pay attention to what is already available as a base in your book, it makes your altered book even more amazing. Experiment in transforming what is there into something that serves your theme. That will make it extra special to you when it is done.
Supplies
- gesso (clear, white, black)
- Stickers
- Paint
- Acetate or vellum
- Matte medium
- Magazine images
- Vintage ephemera
- Alphabet stickers
- Sequins
- Glue
- scissors
Take Action
Really pay attention to what is already in your book and use it intentionally. Look at the different elements I’ve covered in my tutorial, pick your favorites and try them out in your book. Use these ideas as a way to spark your own imagination!