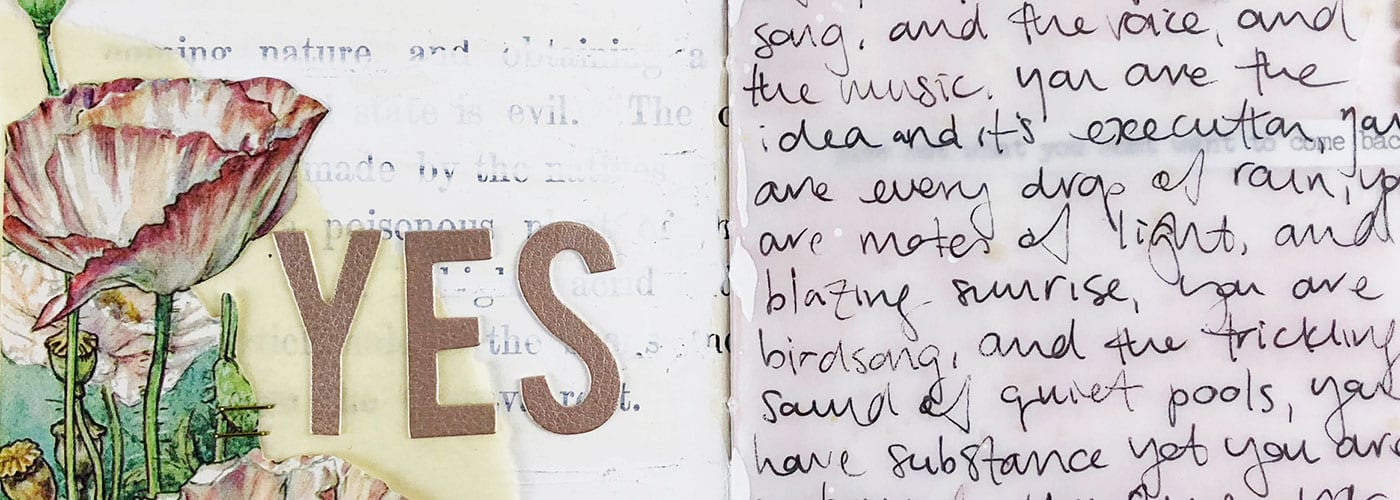
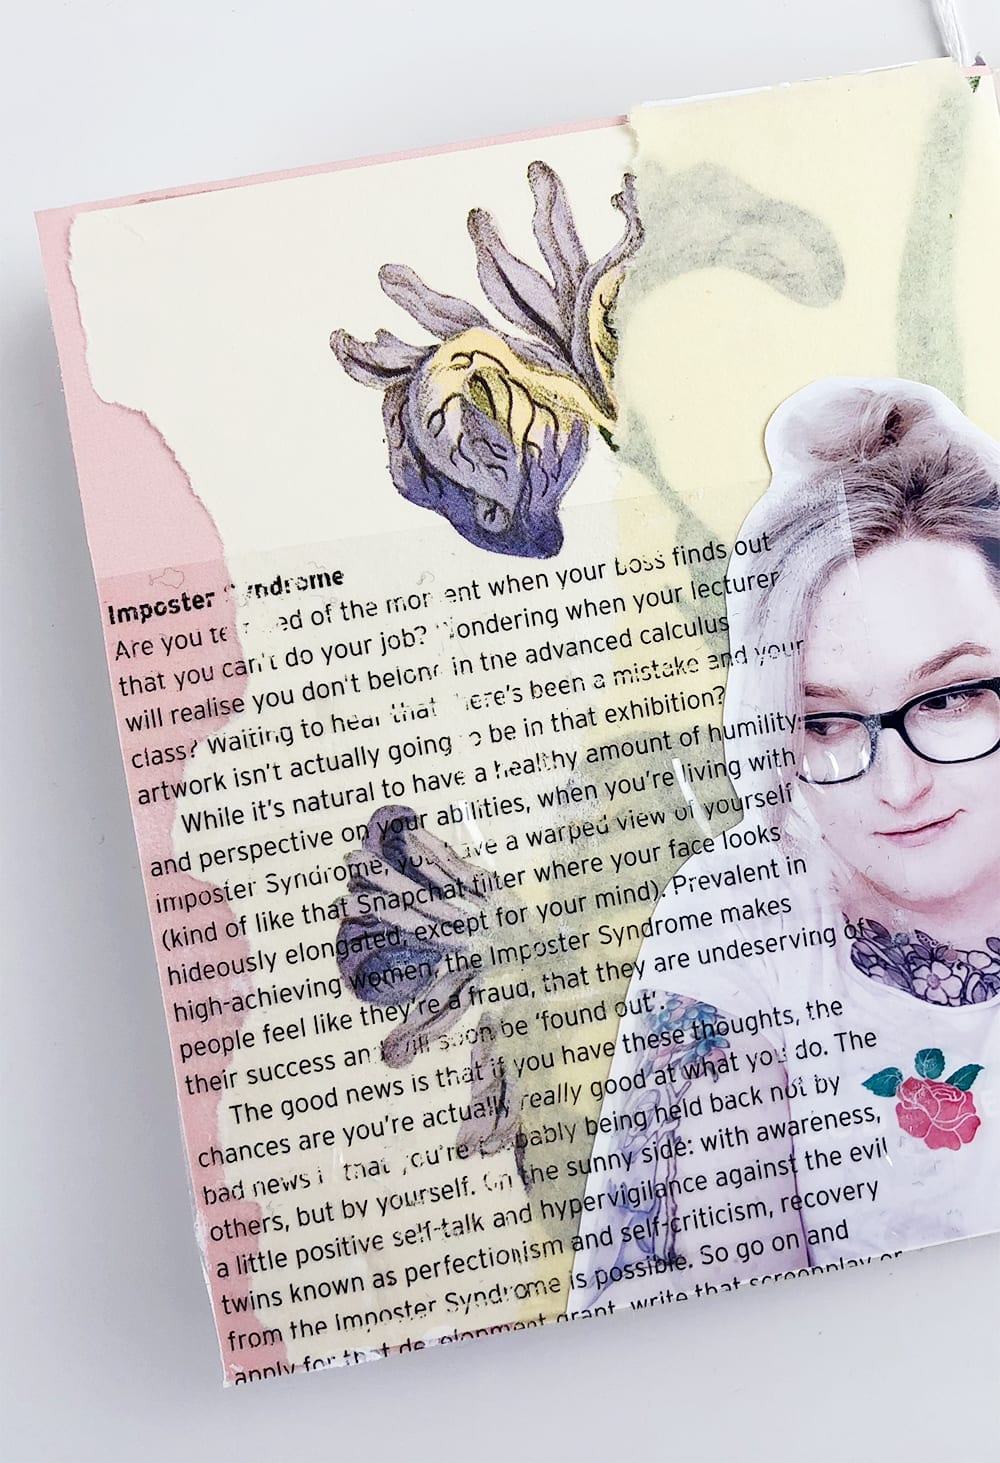
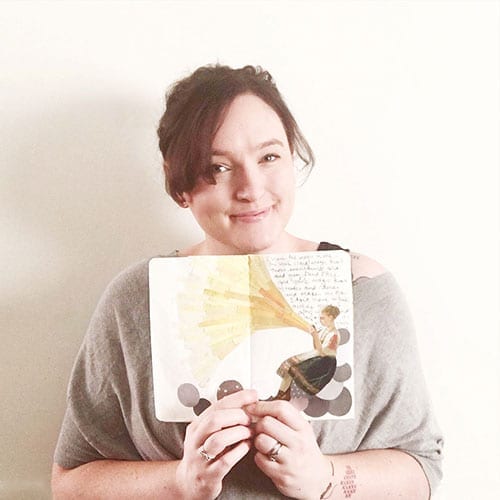
For many of us, images come most easily when we’re art journaling, and for others working with text feels more natural. Being a wordy, languagey, writer-type, I am definitely one of the latter. That being the case, I want to show you some of the different techniques I have for adding text to my art journal pages.
To do this I’ve made a mini art journal, and I’m going to take you through how I filled it in the video below. I’ll give you a list of the products I used, but you should not feel that you need to have all of these in order to make a journal like mine. Just take what you’ve got in your stash, and use it to play, experiment and improvise.
Supplies
- Stamping ink
- Stamps
- Acrylic paint
- Old book pages and image plates
- Pencil
- Embroidery floss
- White gesso
- Heidi Swapp Color Shine
- Alpha stickers
- Phrase stickers
- Tracing paper
- Scrapbooking paper
- Coloured tissue paper
- Old envelope
- Stapler
- Sticky tape
- Scissors
- Waterproof pigment liner
- Needle
- Piercing tool and mat
- Glue pen
- Double sided tape
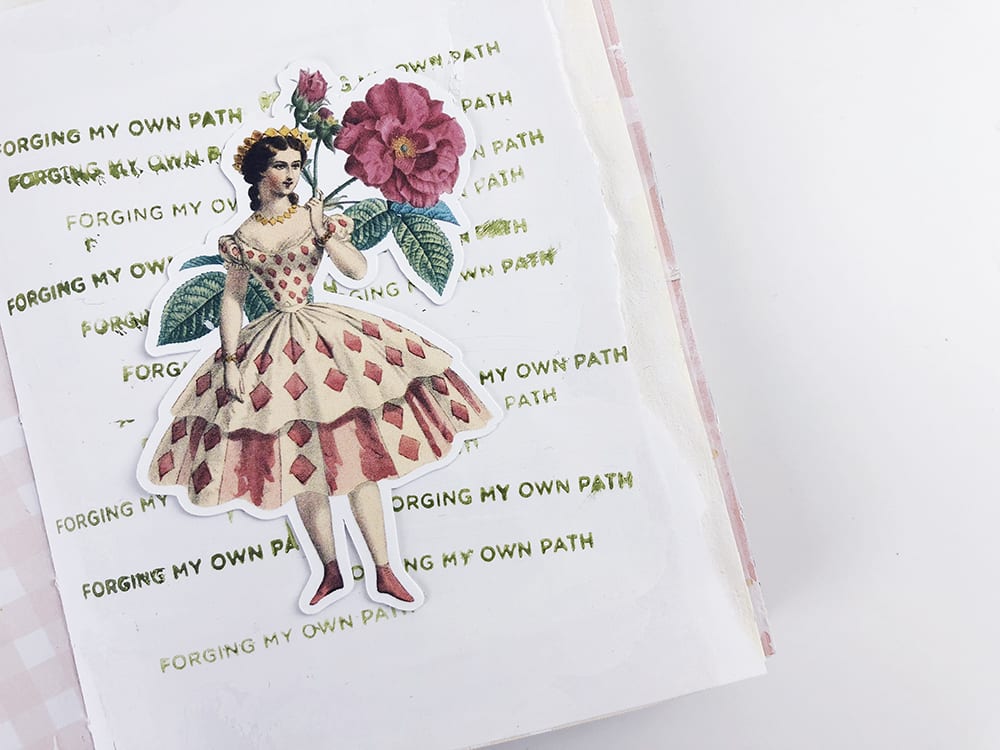
The 9 techniques you’ll see in the video are:
- Using text as a pattern element
- Stitching on paper
- Using phrase stickers and alpha stickers
- Repeat stamping to create backgrounds
- White out poetry
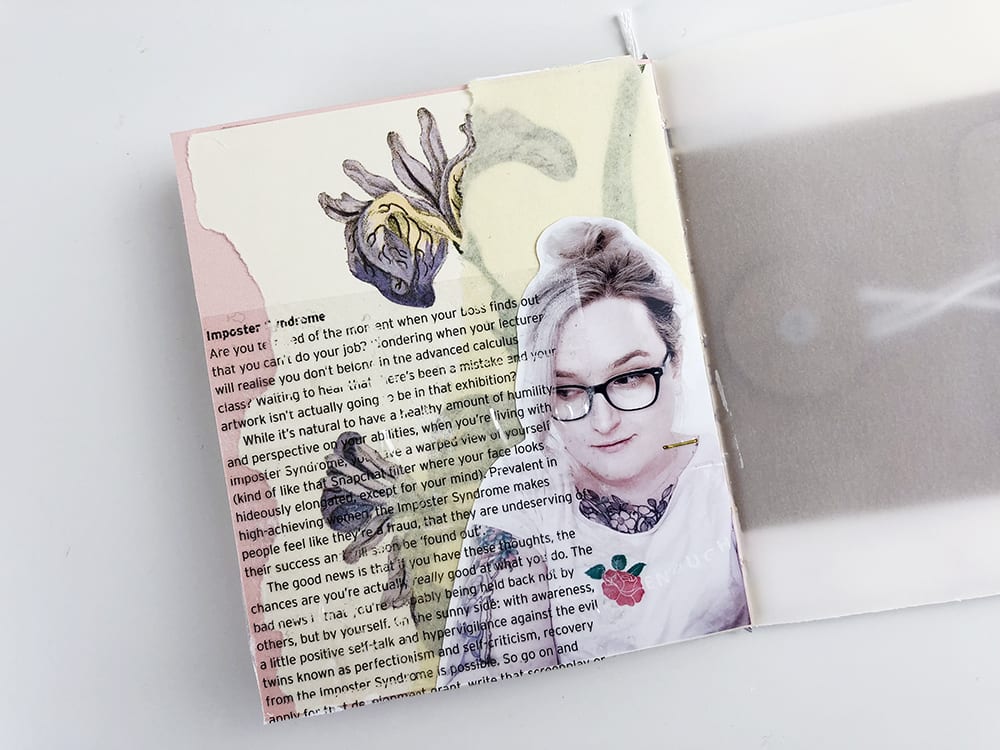
- Muting printed text to use as a background
- Bold hand-cut collage text
- Using the transfer method to create text pieces for layering
- Making space hidden journaling
Let me challenge you to give one of these techniques a try in whatever art journal you’re working on right now. Share the result on Instagram so your fellow Messians can admire your work!
