Hey Messy Artists, it’s Julia (@Julia_Bethmann on Instagram) here with my first video tutorial!
Printing with the Gelli Plate is a super fun way to loosen up in the studio AND make your own collage papers. I always enjoy experimenting with different techniques and just messing around with different colors. Each time you start playing with the Gelli Plate, you learn more about your favorite ways to work – it always leads to exciting results! The Gelli Plate is so easy to use and I hope after this lesson you love playing around with it as much as I do.
In this video, I am going to share some helpful steps for beginners to the Gelli Plate to feel comfortable getting started. We will also try a few neat tricks once you are familiar with the basics.
This lesson has two main parts:
Gelli Printing Basics
- Explore different papers
- Explore different types of acrylic paint
- Get the most out of your paint
- Clean up tips
Experimenting with…
- String
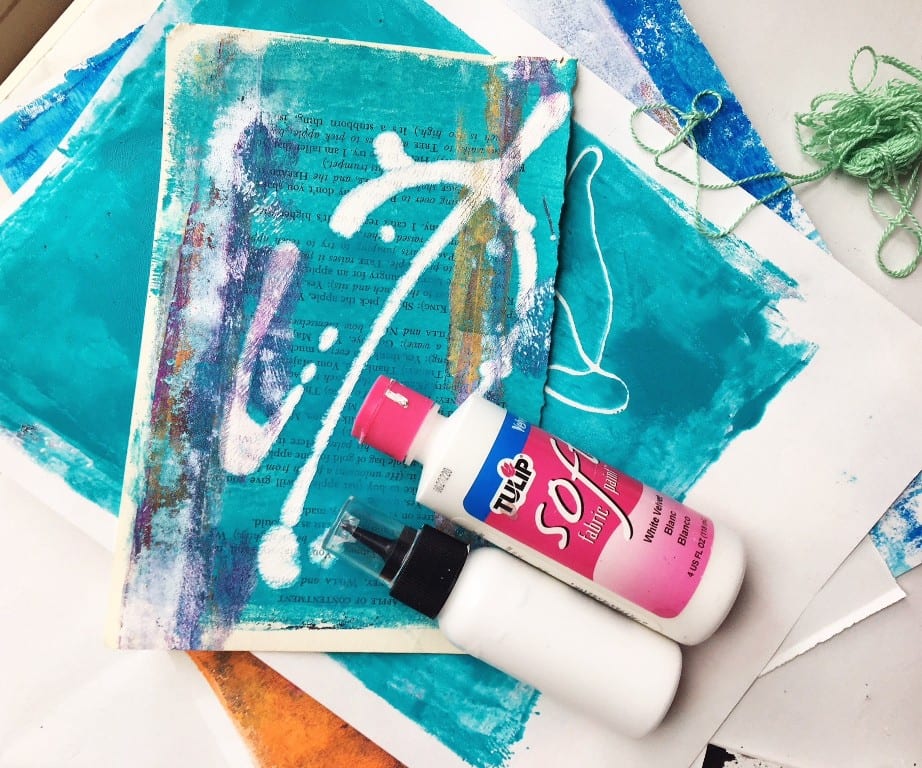
- Fabric Paint
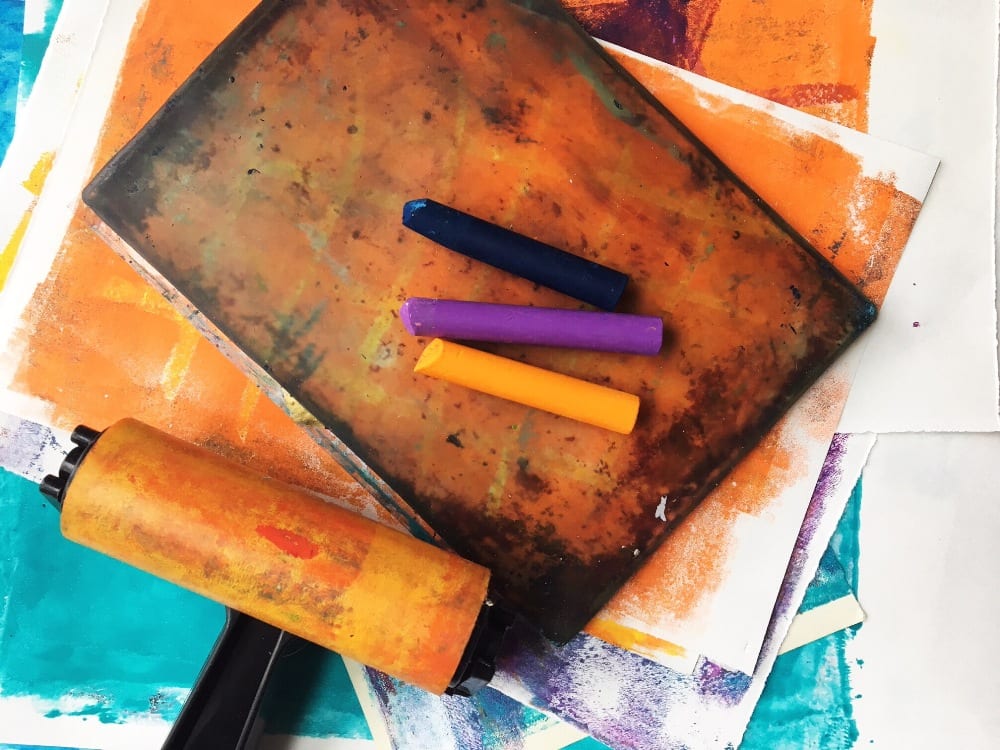
- Oil Pastels
- Heavy Body Titanium White
SUPPLIES
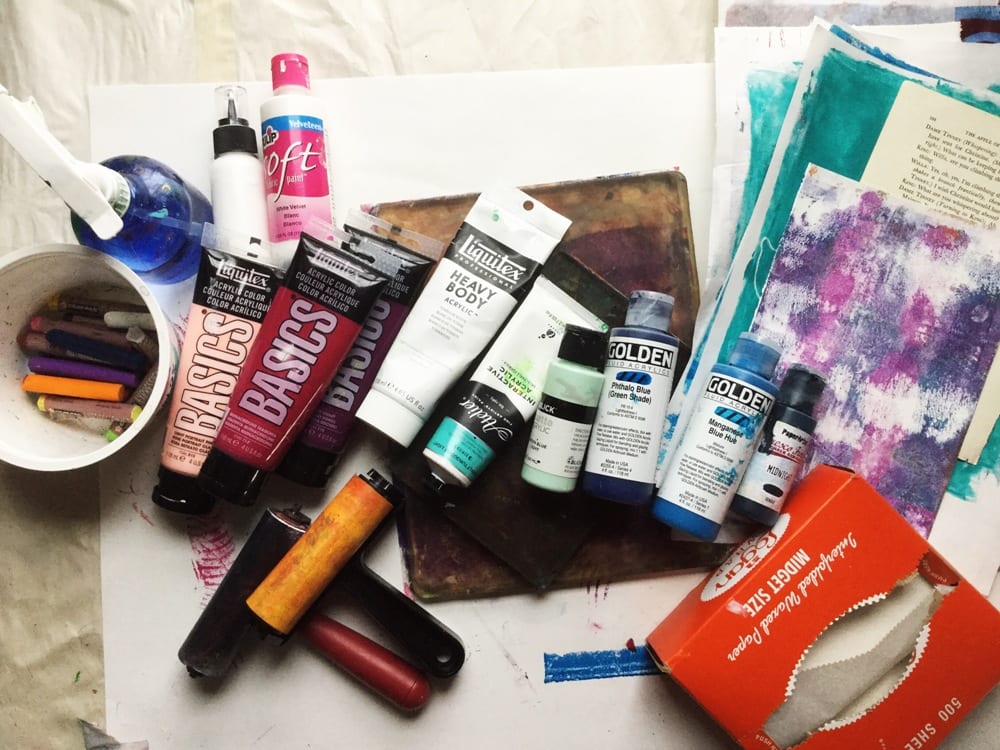
- Gelli plate of any size
- One or two paint rollers
- Acrylic paint – your favorite colors and and range of ‘body’ types
- Range of 10-20 different papers – such as old book pages, deli paper, drawing paper, printmaking paper, paper that is already marked up, rice paper, scrapbook papers…
- Water bottle
- Paper towels
- Baby wipes
Optional for experimenting:
- Heavy Body Titanium White
- Embroidery floss – color does not matter
- Glazing Medium or other acrylic medium extender that slows down drying time
- White fabric paint with a thin nozzle or a refillable thin nozzle tipped bottle that you can fill with the fabric paint
- Oil pastels or crayons
Have you had some fun with the Gelli Plate and used these papers in your art journals? I encourage you to try at least one of these techniques and use the papers in your next art journal page. Be sure to share in on Instagram and tag me @julia_bethmann and @getmessyartjournal! We always love seeing everyone’s amazing work!
Action steps
Open up that Gelli Plate!
Pick out three or four different version of the same color (such as different shades of blue). Roll up the plate with the first blue, and print. Then roll up the plate with the second blue and print and so on. Layer and play with these colors, printing on the same papers and new papers until you are happy with the results.
Cut or tear your favorite section of each print and use in a journal page
