Hey Messy Artists, it’s Julia here with part two of the Gelli Printing video tutorial!
I hope you have seen my first video and are having some fun with your Gelli Plate. In this video, I am going to share a few more printing methods and then a fun collage trick to start using some of your Gelli printed papers in your journal.
Download the five templates I have provided and let’s get started:
This lesson has two main parts:
1. More Gelli Printing – how to get interesting layers and effects
- Apply paint with a brush
- Use stencil download provided or make your own stencil and experiment with printing layers
- Use store bought stencils and stamps with different thicknesses of paint and different paint applications
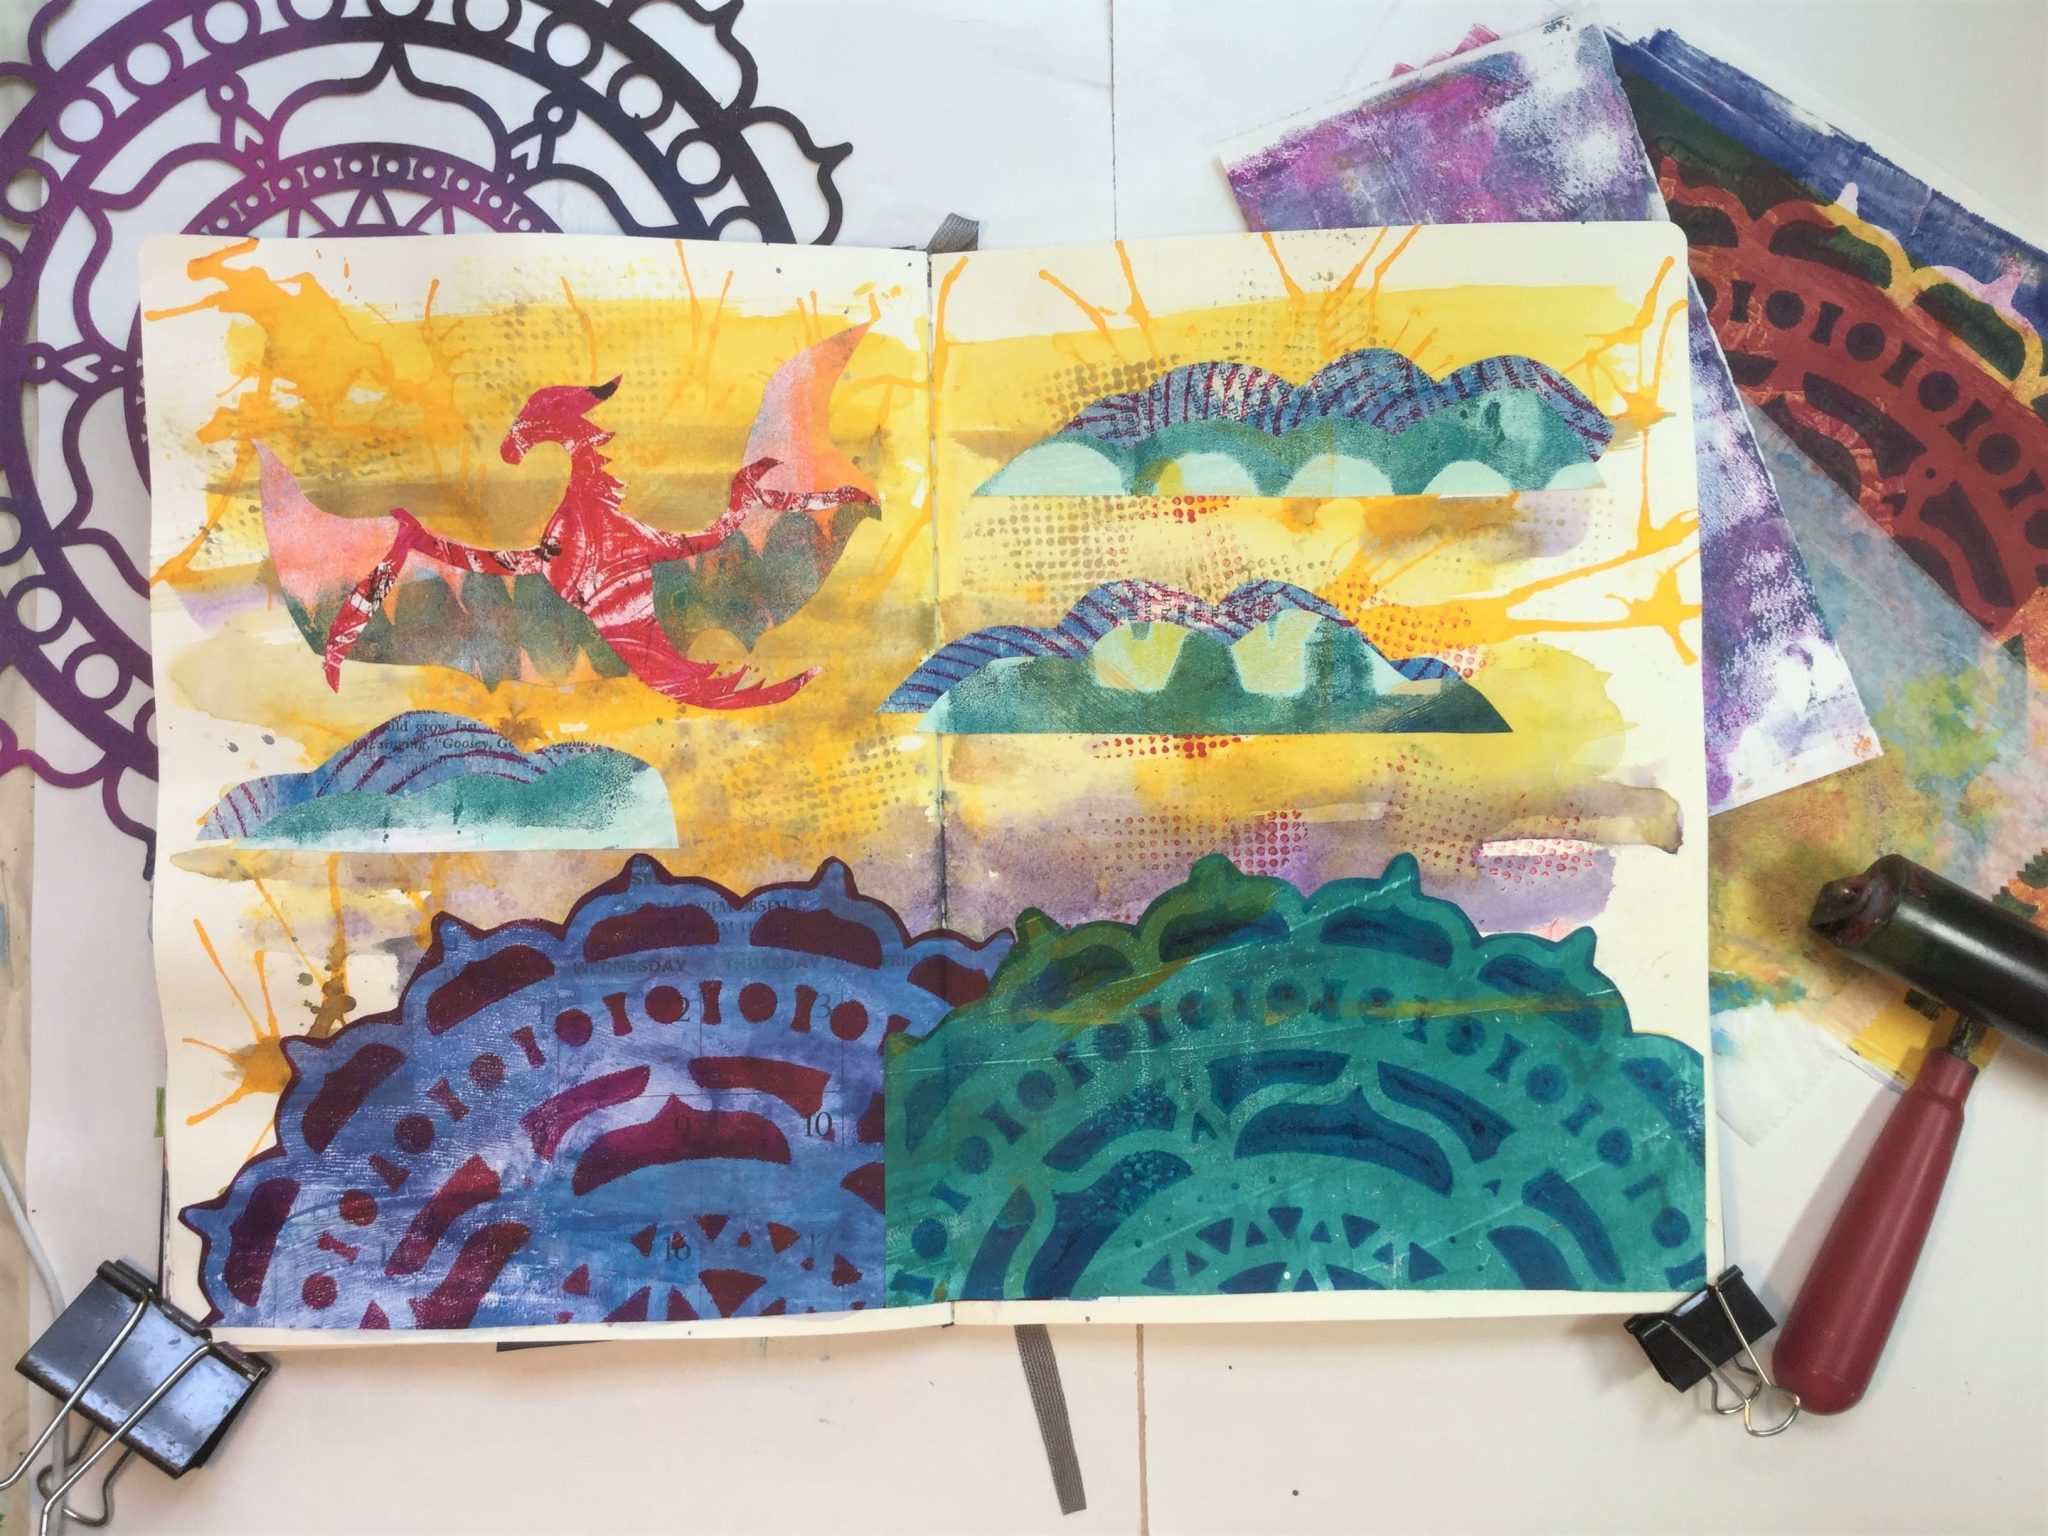
2. Take Collage Further
- Lay out your printed papers by color so it is easy to reference, make sure you have all of your favorite colors and some black too
- Using the downloaded templates, cut out the image you want to work with
- You can also use the papers to enhance your background as in the video
- Paste/glue in the papers onto your background
SUPPLIES
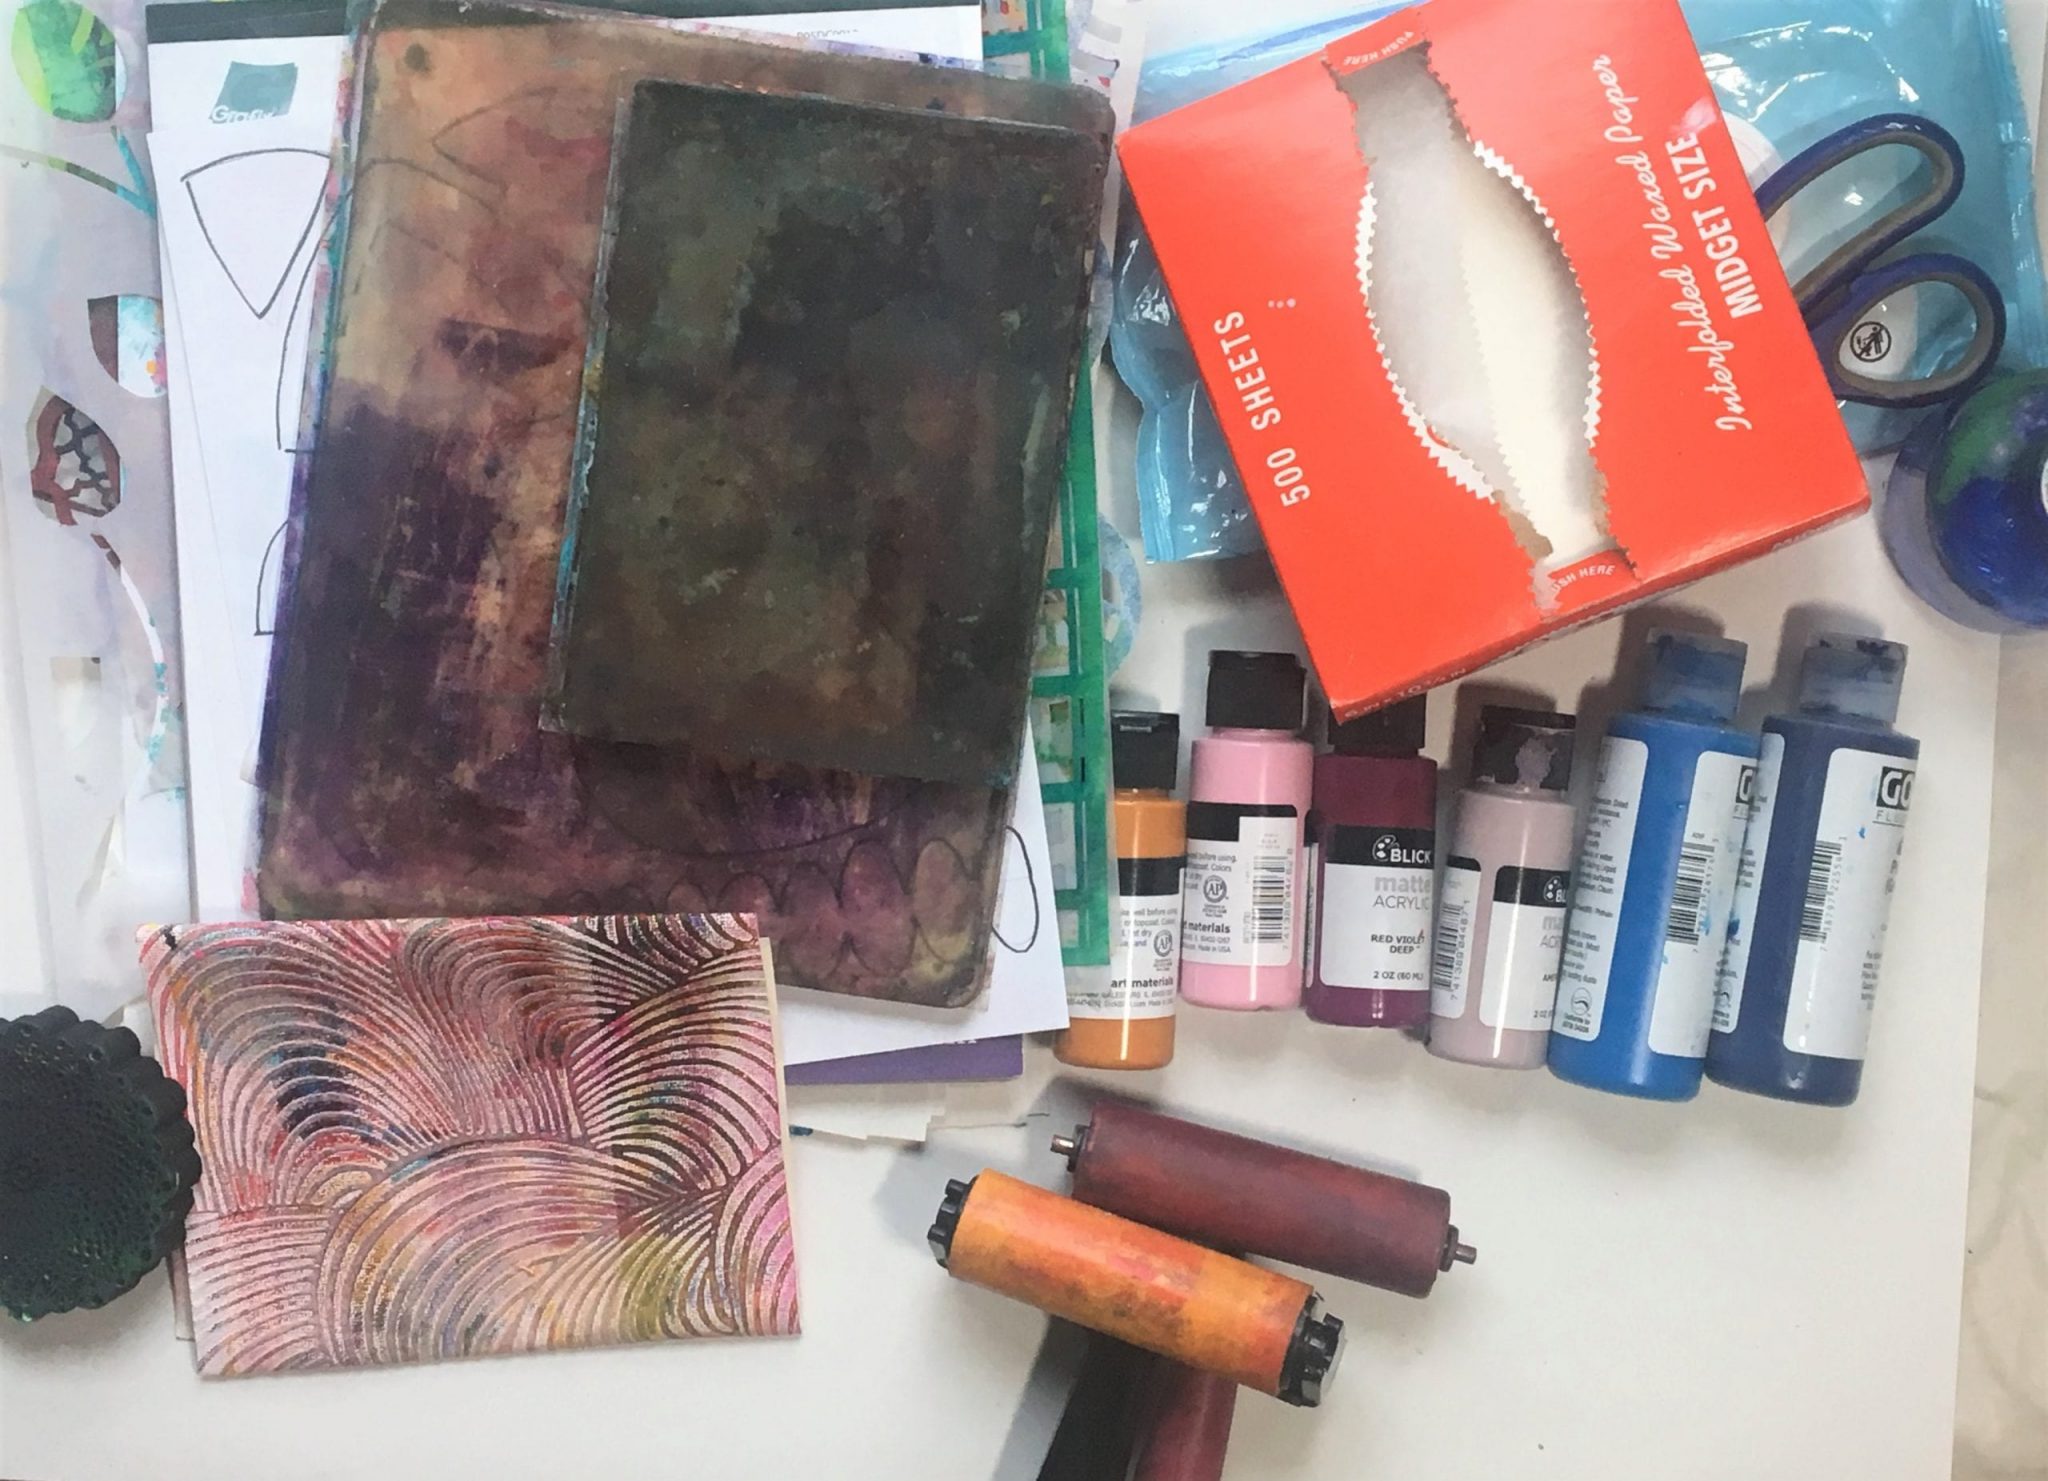
- Gelli plate of any size
- One or two paint rollers
- Acrylic paint – your favorite colors and range of ‘body’ types
- Range of 10-20 different papers – such as old book pages, deli paper, drawing paper, printmaking paper, paper that is already marked up, paper you printed on in the last lesson, rice paper, scrapbook papers…
- Paint brush
- Old credit card/gift card
- Water bottle
- Paper towels
- Baby wipes
- Matte gel medium or other collage adhesive of your choice
- Scissors
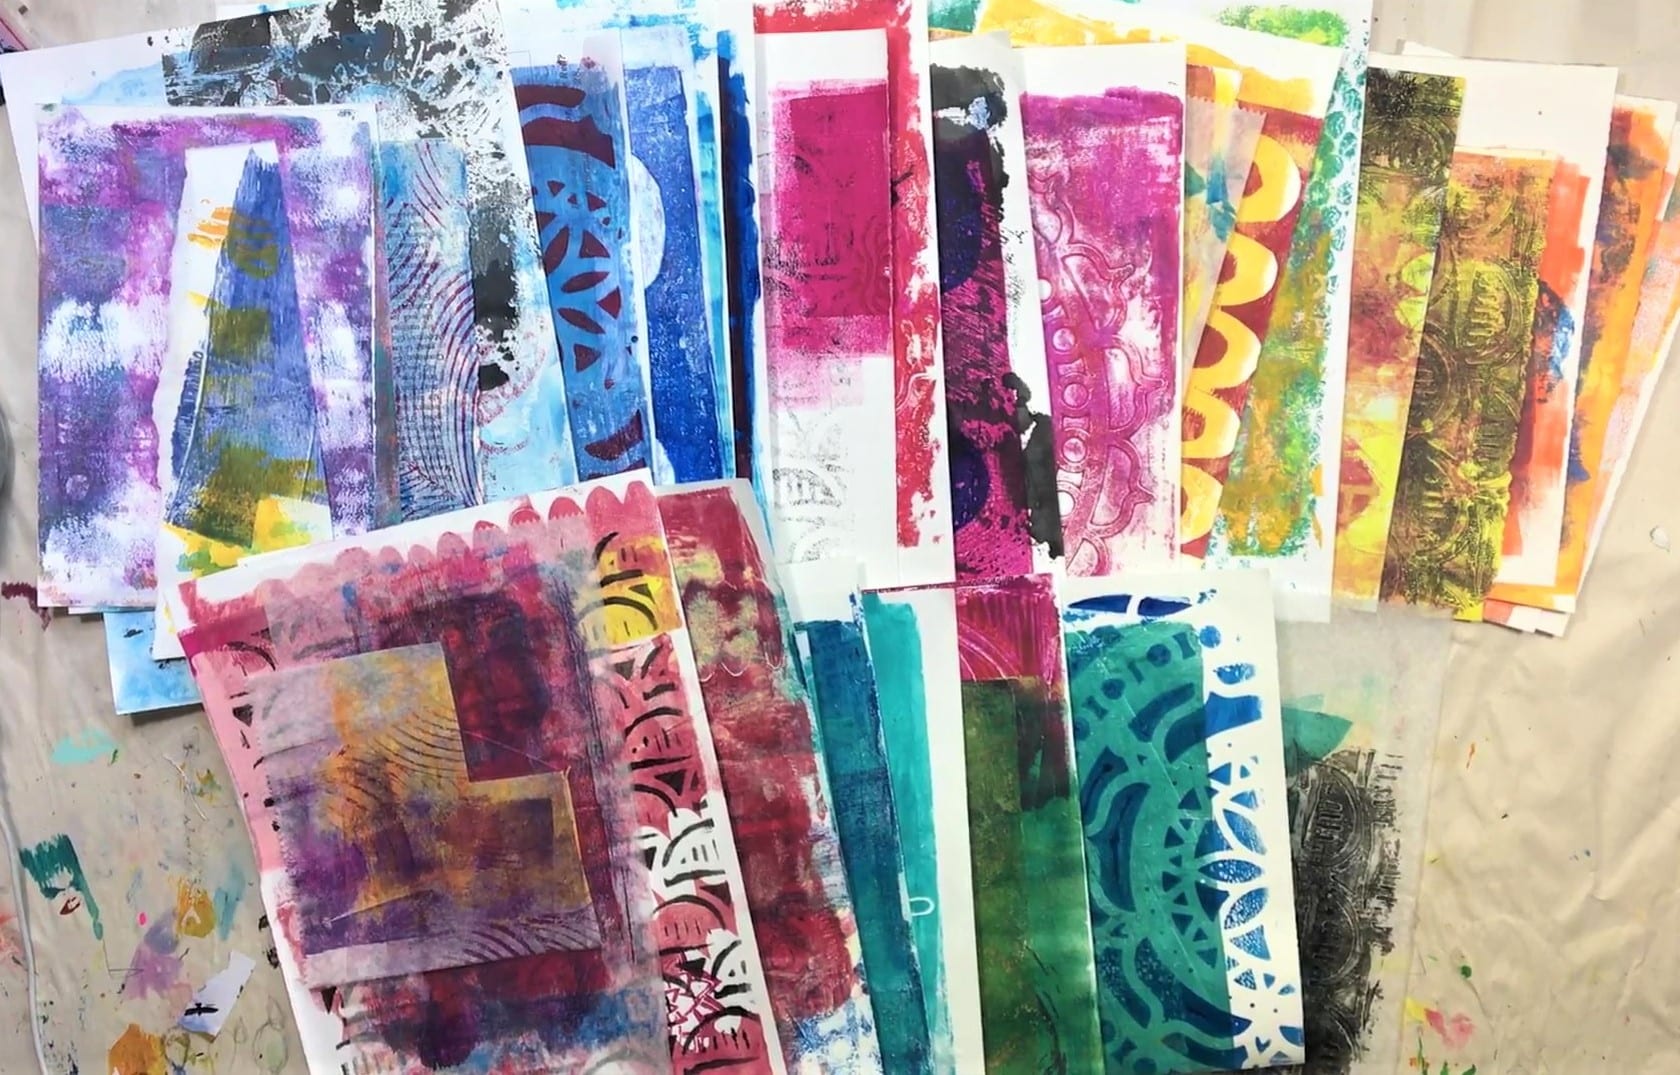
PROCESS
Action steps
Print using the Gelli plate by:
- Applying the paint with a brush
- Rolling up two different colors of paint together with a roller, use stencils to print
- Using liquid acrylic paint or a lighter body paint with your favorite stamps
Print multiple layers on the same piece of paper masking out with the stencil
Pick out a downloaded picture, cut out the pieces and glue on top of a prepared background
