Physical Tech
THIS IS MY LITTLE TECH FAMILY:
Your tech stack is an incredibly personal choice. The only way you’ll know exactly what you like is by trying things out. If you’re looking for somewhere to start, I’ve got you. I would suggest buying the maximum that your budget allows.
Not included in these budgets:
- second camera
- artificial lighting
Disclaimer: I am not an audio/visual expert, only an enthusiast. I have been doing this for years, along with researching in depth, chatting to experts, and recommending to friends who love my systems. I have learned from creating art and productivity videos.
High Quality Low Budget
- Smartphone: free
- Lavalier mic – Rode smartLav+ Lavalier Microphone: $62
- Tabletop cellphone “tripod”: $11 (alternatively, a selfie stick will work wonders)
TOTAL = $73


Mid-Range Budget
- Camera – Canon PowerShot Digital Camera [G7 X Mark II] $699
- Lateral arm tripod – Manfrotto MT190XPRO4 4 Section Aluminium Tripod Legs: $198
- Tripod head – Manfrotto 496RC2 Ball Head with Quick Release $72
- Memory card – SanDisk Extreme Pro 64GB $38
- Lavalier mic – Rode smartLav+ Lavalier Microphone: $62
TOTAL = $1069


Fancy Mid-Range Budget
This is my setup
- Camera – Sony RX100 Mark V $999
- Lateral arm tripod – Manfrotto MT190XPRO4 4 Section Aluminium Tripod Legs: $198
- Tripod head – Manfrotto 496RC2 Ball Head with Quick Release $72
- Memory card – SanDisk Extreme Pro 64GB $38
- Lavalier mic – Rode smartLav+ Lavalier Microphone: $62
- Voiceover mic – Yeti Blue Microphone with Pop Filter: $140
TOTAL = $1509


High Budget
- Camera – Canon EOS 5D Mark IV with 24-70mm Lens Kit $3263
- Lateral arm tripod – Manfrotto MT190XPRO4 4 Section Aluminium Tripod Legs: $198
- Tripod head – Manfrotto 496RC2 Ball Head with Quick Release $72
- Memory card – SanDisk Extreme Pro 64GB $38
- Mic – Rode VMPR VideoMic Pro $205
- Voiceover mic – Rode Procaster with Swivel Mount Boom Arm and Shockmount $650
TOTAL = $4426


My Tech
This is my little tech family.
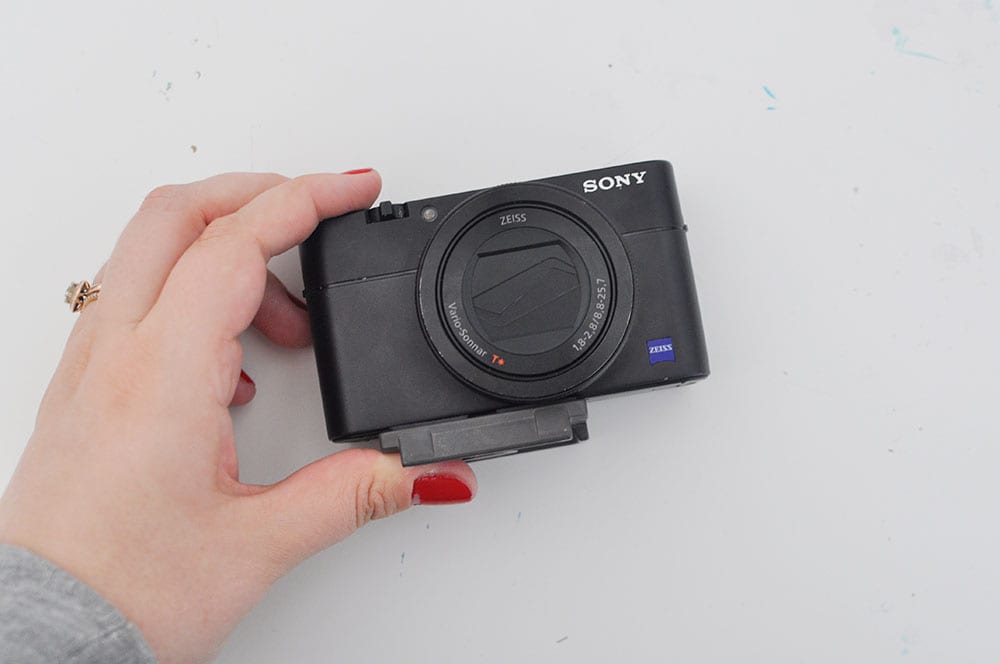
SONY RX100 V
My baby. The skin tones are quite orangey, but I love him.
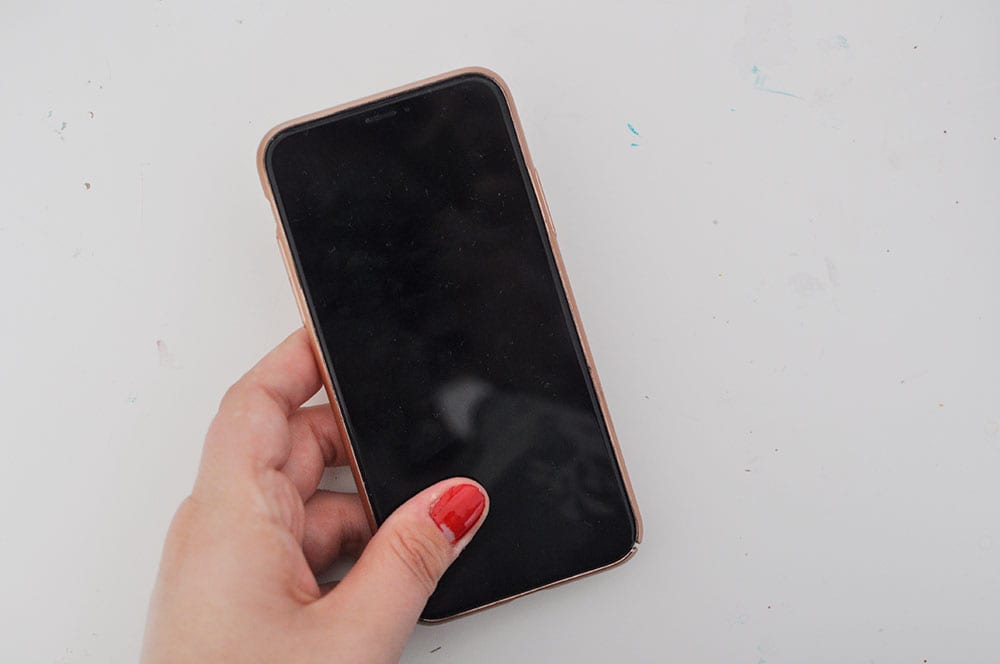
IPHONE X
I don’t use this for filming anymore (except Instagram Live), but before I had my Sony, I would for tabletop video.
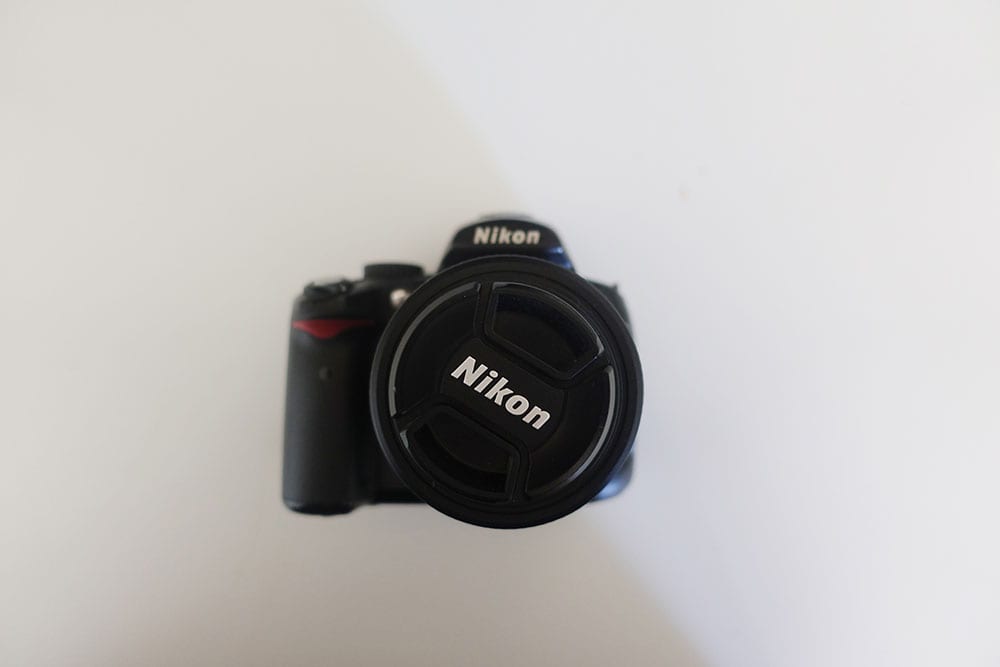
NIKON D5000
I’ve had my Niky since 2013. She has a 35mm prime lens which makes for magical bokeh. This is used only for photos and thumbnails. It cannot be used for video.
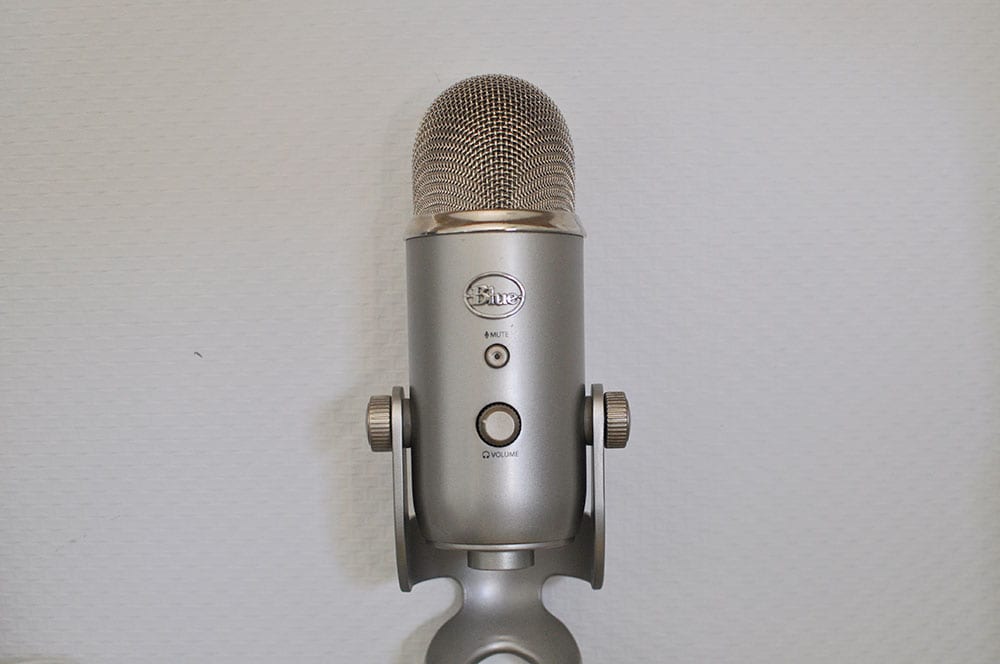
YETI BLUE MICROPHONE
I use this for voiceovers. It needs a pop filter, and makes weird noises. ALWAYS keep this upright. It’s designed to be upright, and it kills me to see people using it slanted – they obviously haven’t read the manual.
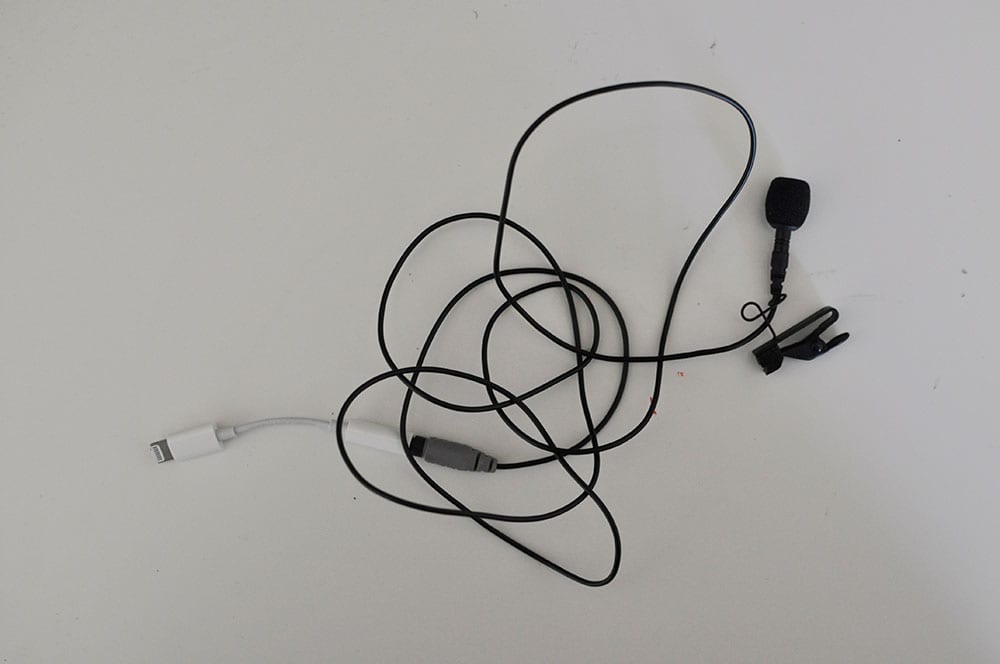
RODE LAVALIER MIC
I plug this into my cellphone to use to record in real time because the Sony doesn’t come with an audio jack.
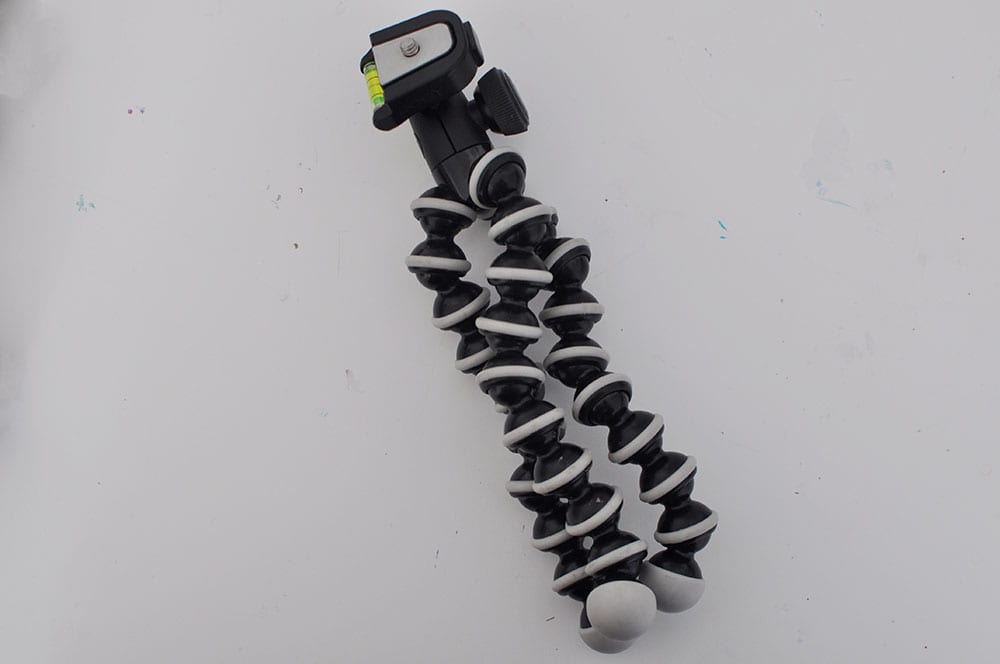
JOBY GORILLAPOD
This is what he looks like prepped for tabletop videography. The best thing I have ever purchased in my business after my Sony. I have been through SO many hack jobs trying to get straight facing down video. This guy makes things just so easy for me.
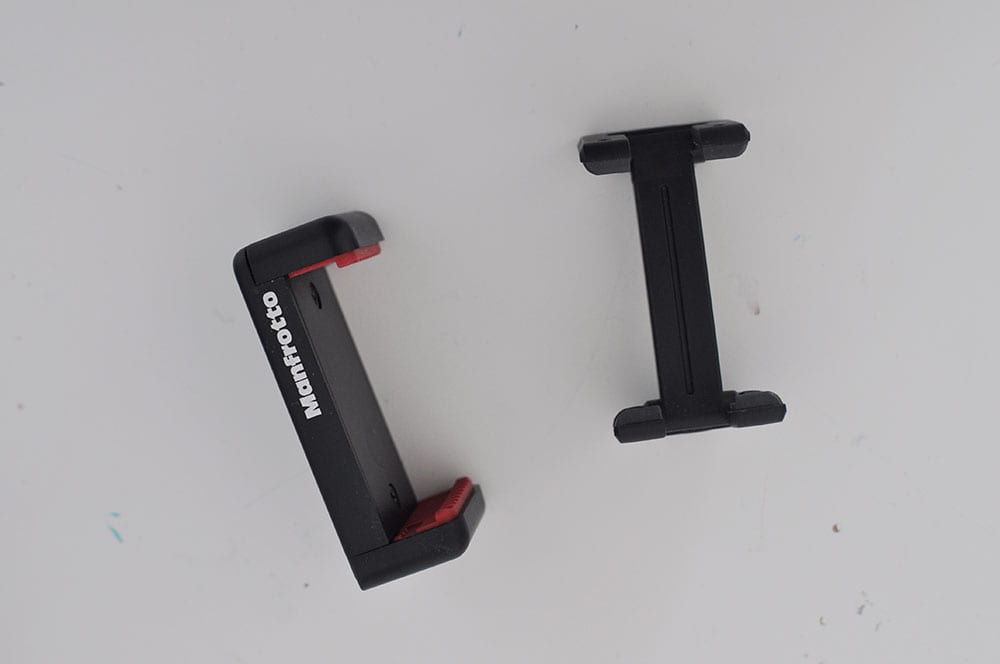
PHONE ATTACHMENTS
These attach to my Manfrotto tripod and my GorillaPod and allow me to attach my cellphone safely.
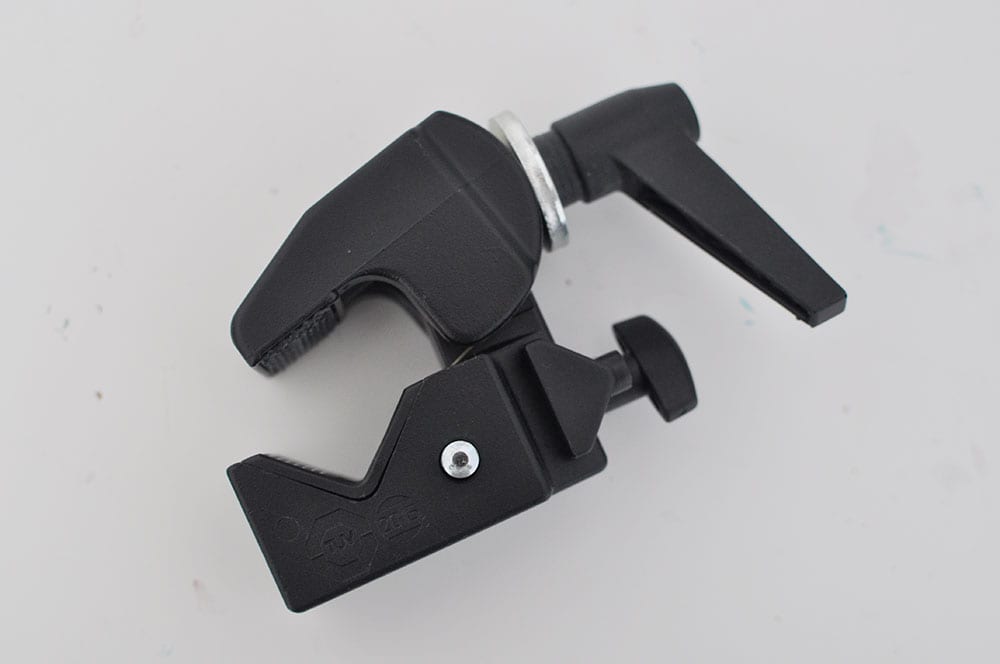
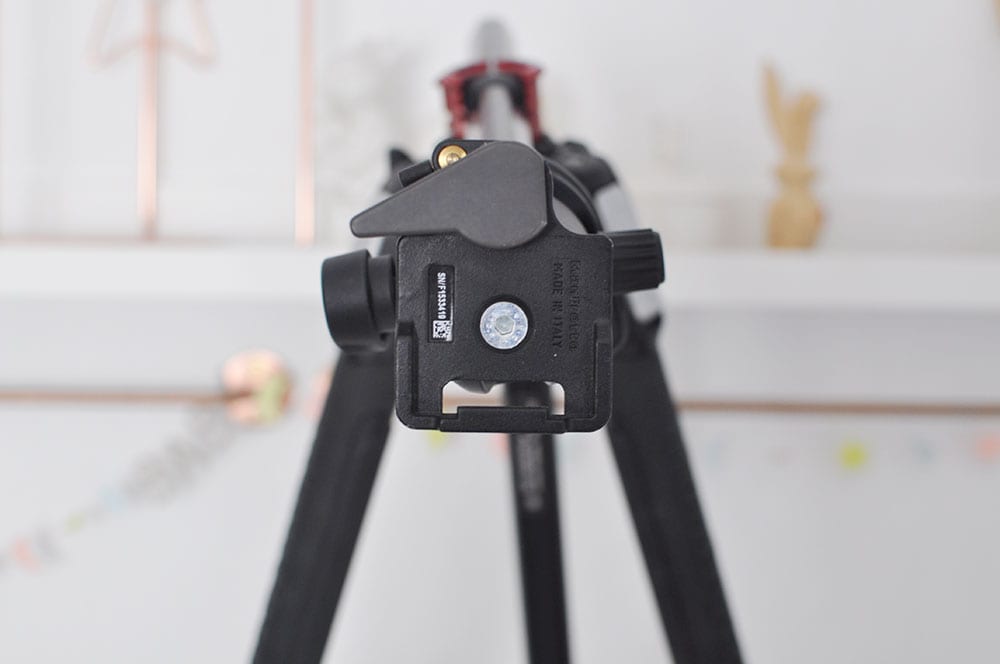
MANFROTTO CLAMP
I used this to keep a monopod attached to my previous (non-lateral armed) tripod. It works well if you already have a regular tripod.
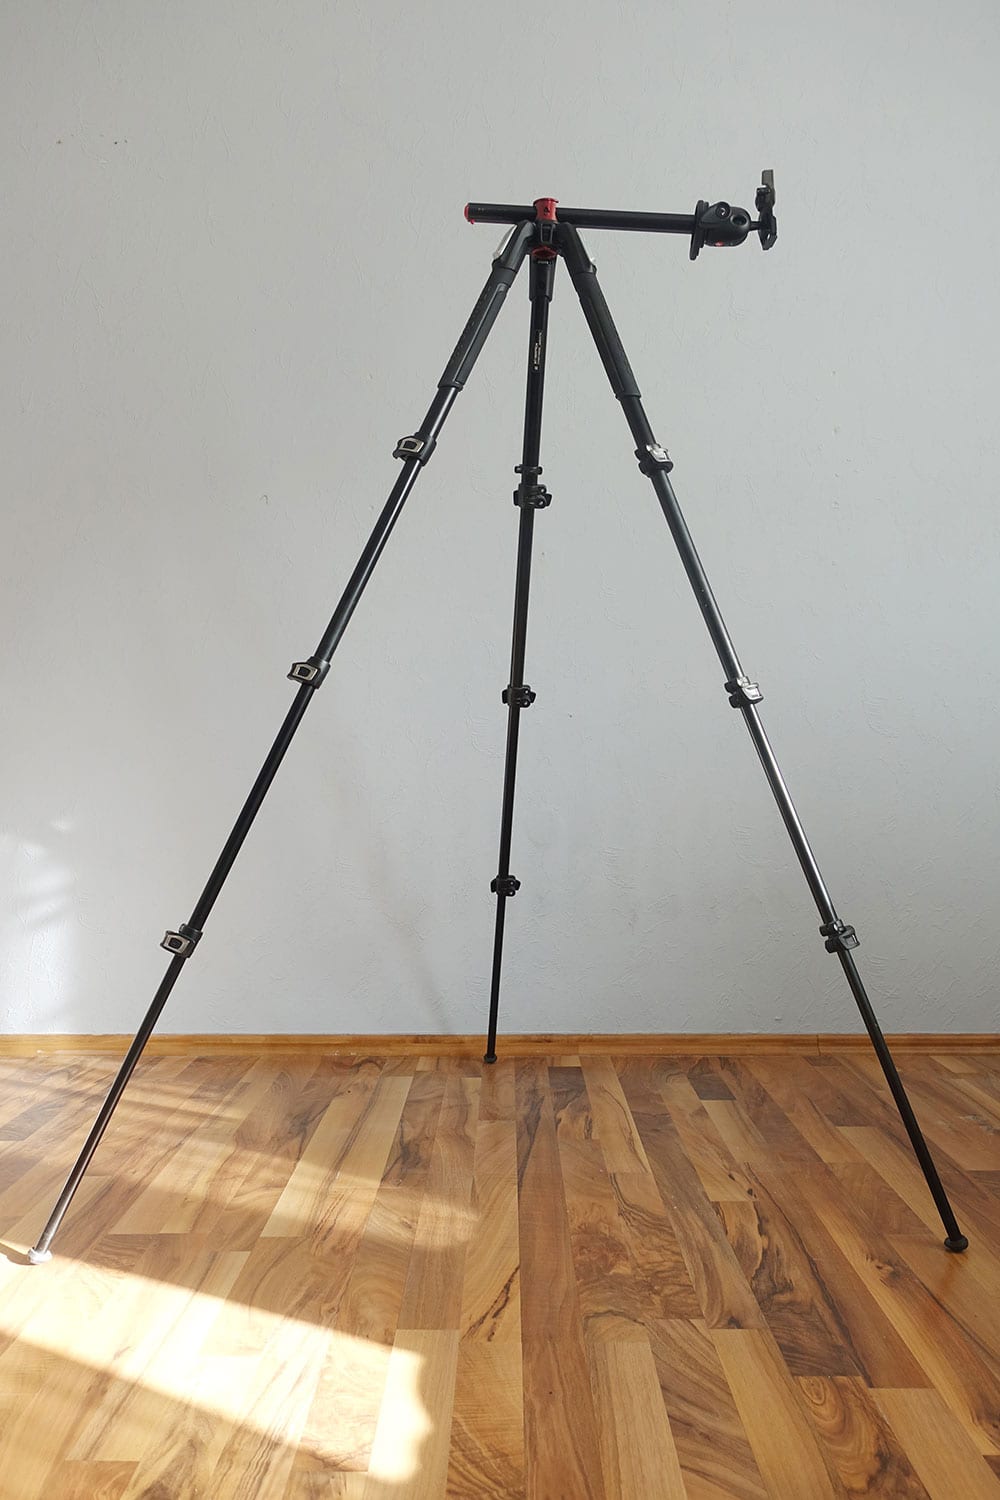
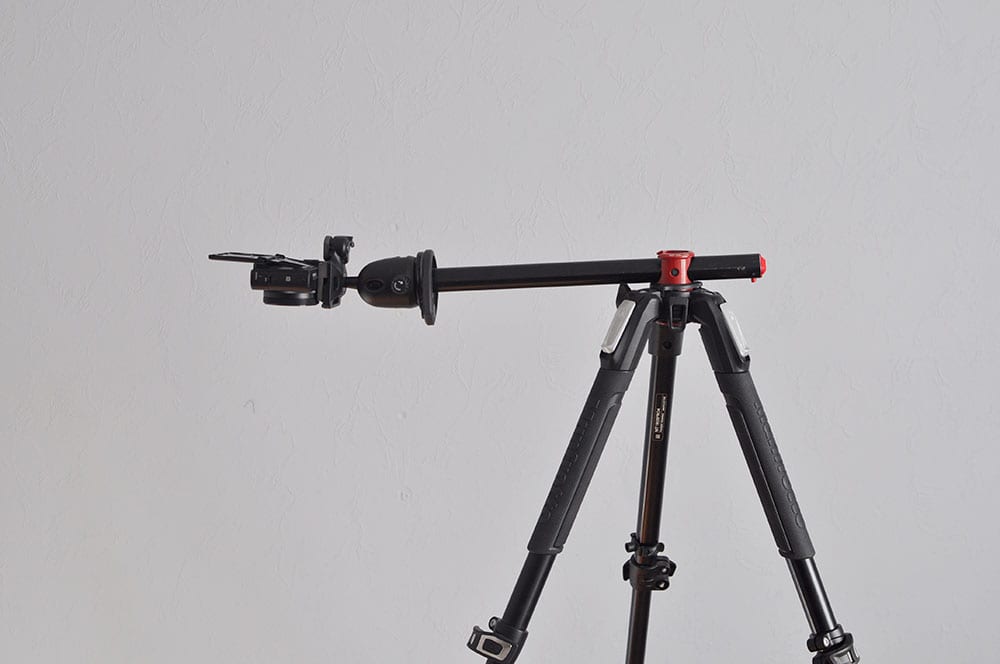
MANFROTTO LATERAL ARM TRIPOD
This is what he looks like prepped for tabletop videography. The best thing I have ever purchased in my business after my Sony.
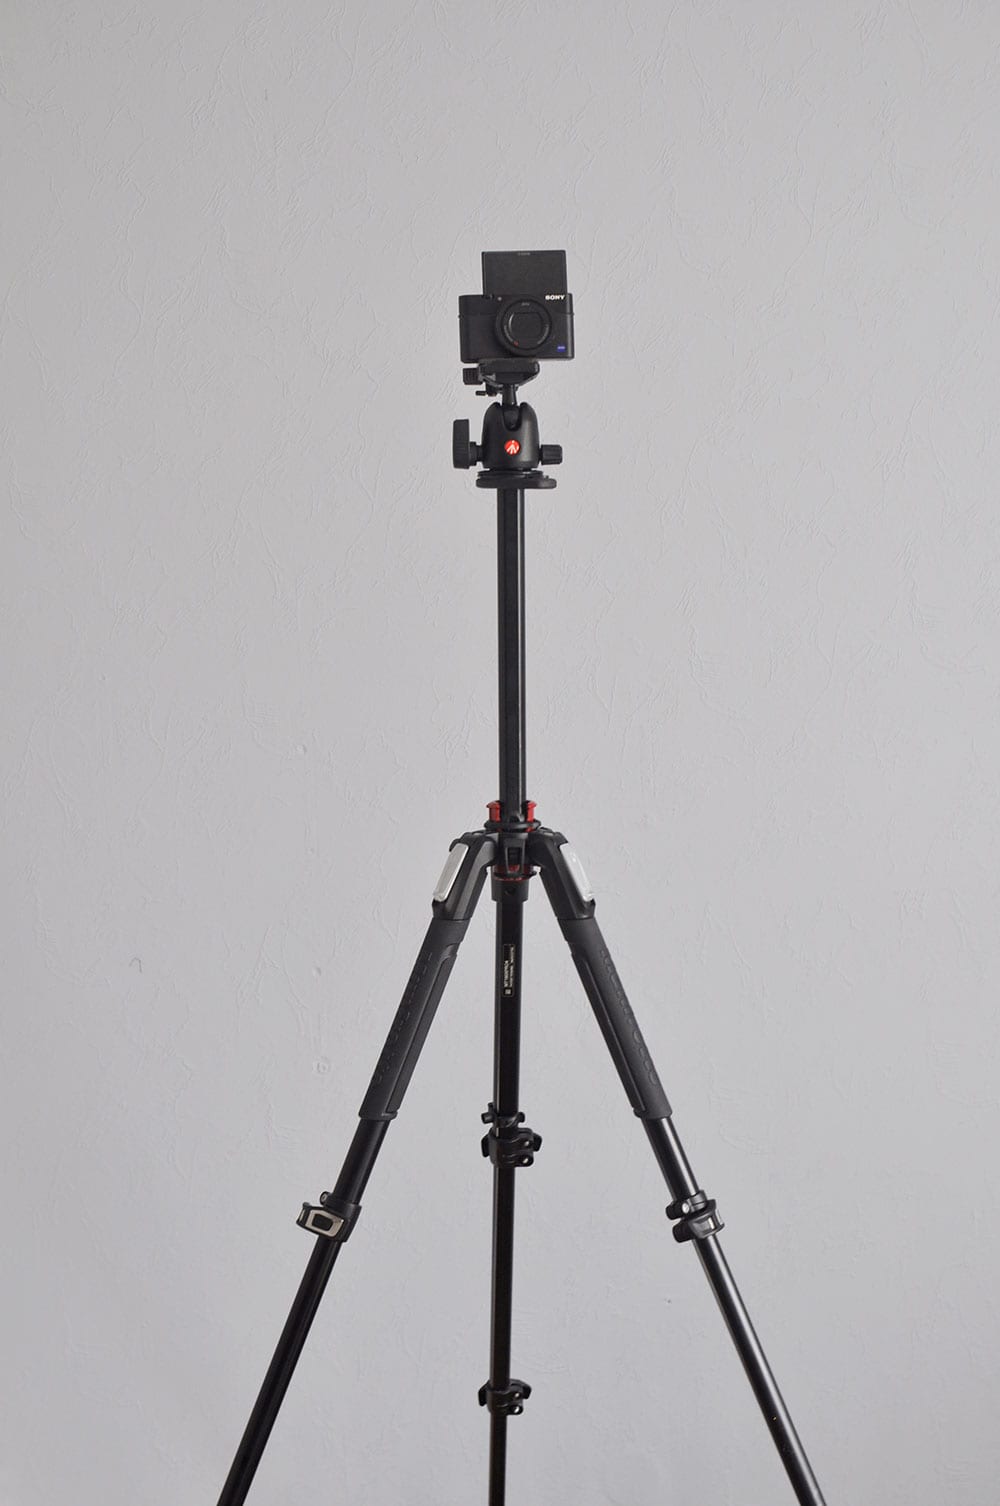
MANFROTTO LATERAL ARM TRIPOD
This is what he looks like prepped for straight on / face to camera videography.
NAKED TRIPOD
Camera-less
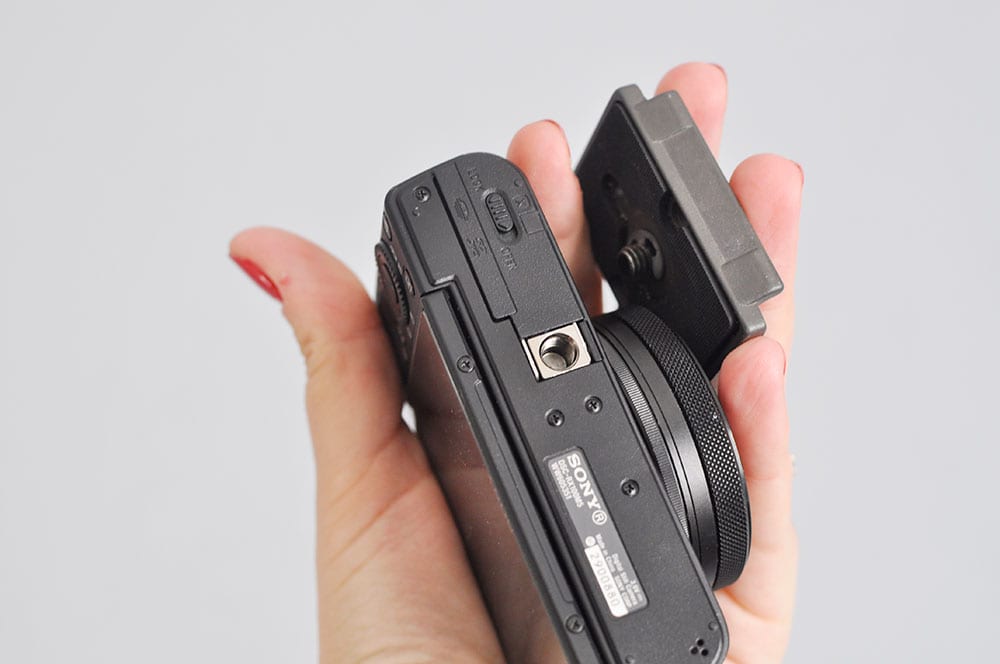
QUICK RELEASE
This attaches to the tripod
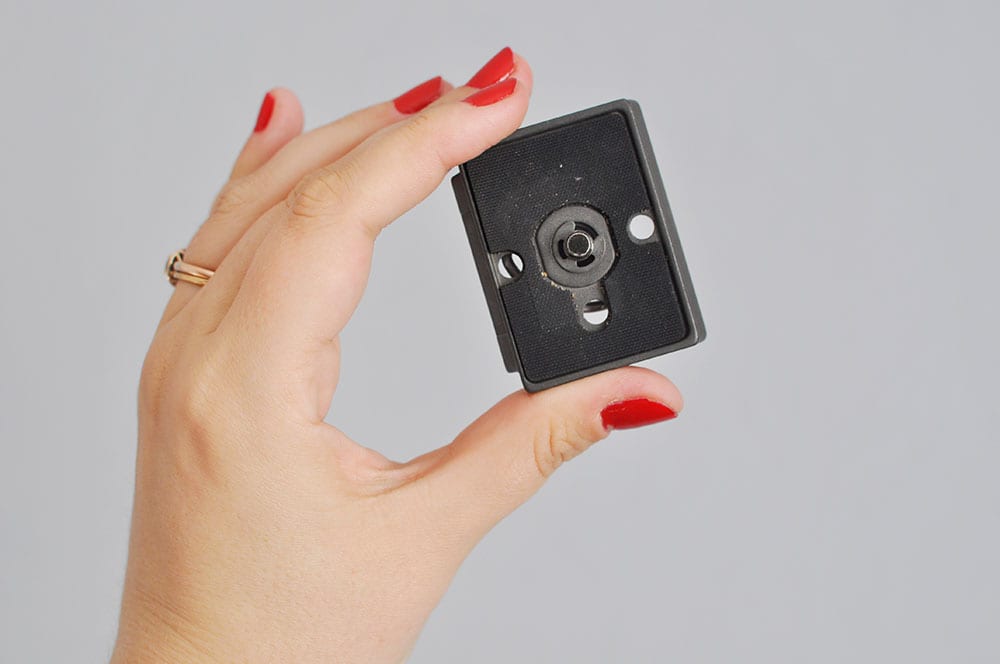
MALE / FEMALE
The camera has a female port and the quick release has a male. You screw it in super easily so that you don’t need to struggle with an entire tripod.
WHAT I SEE
When I’m doing face to camera, this is my view.
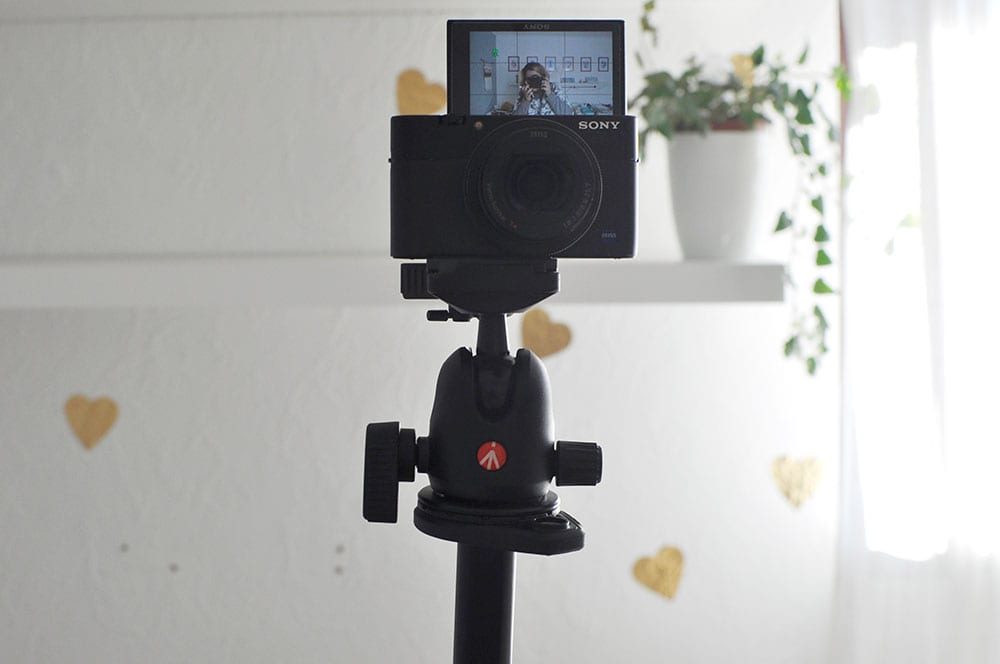
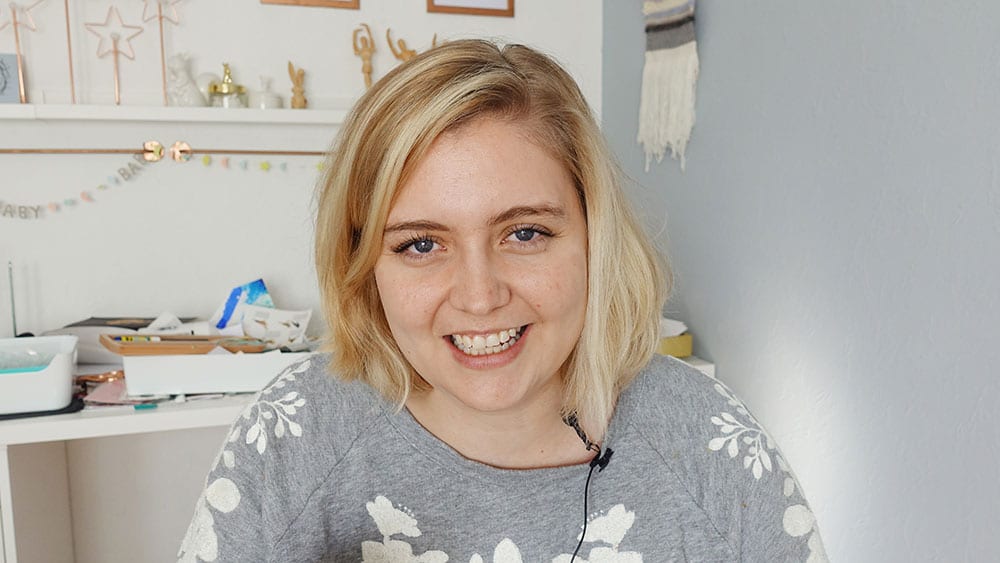
WHAT MY CAMERA SEES
This is the view from the camera for face to camera videography.
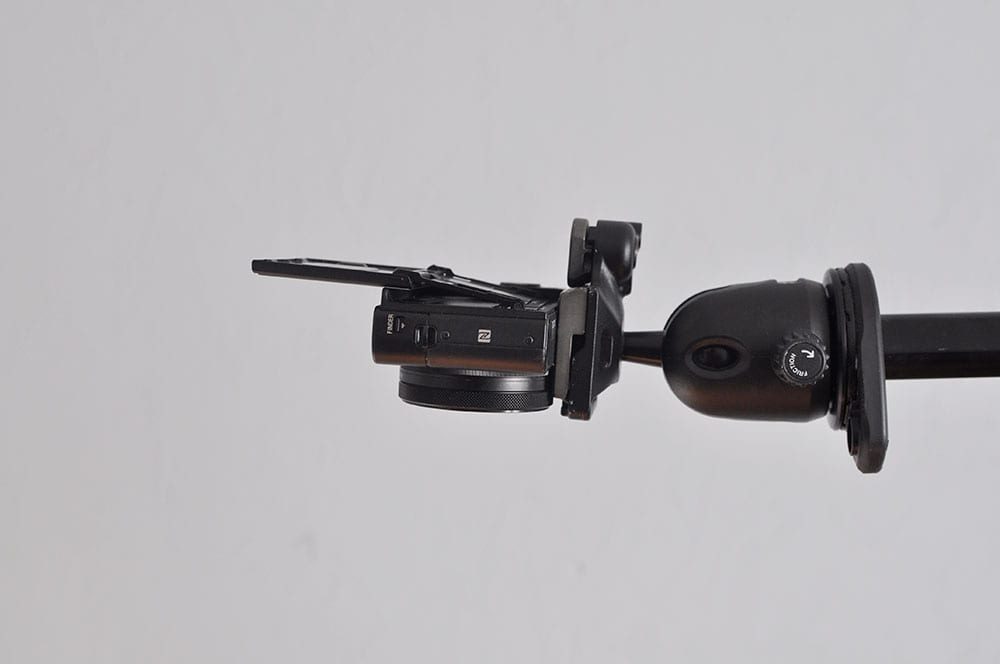
TABLETOP WITH SONY
The viewfinder pointed down so that I can see what’s in the shot.
CLOSER VIEW
*wolf whistle*
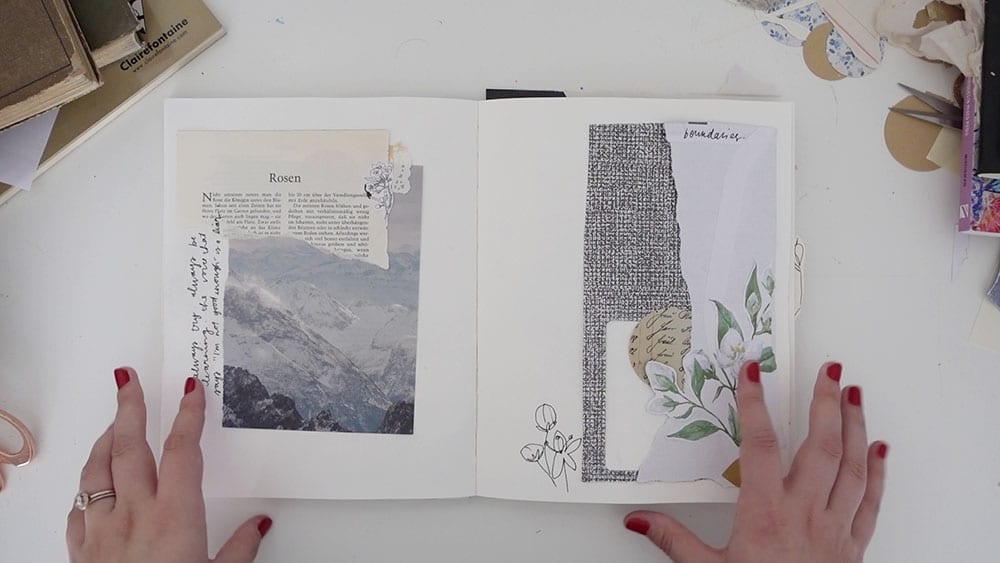
WHAT MY CAMERA SEES
This is the view from the camera for tabletop videography.
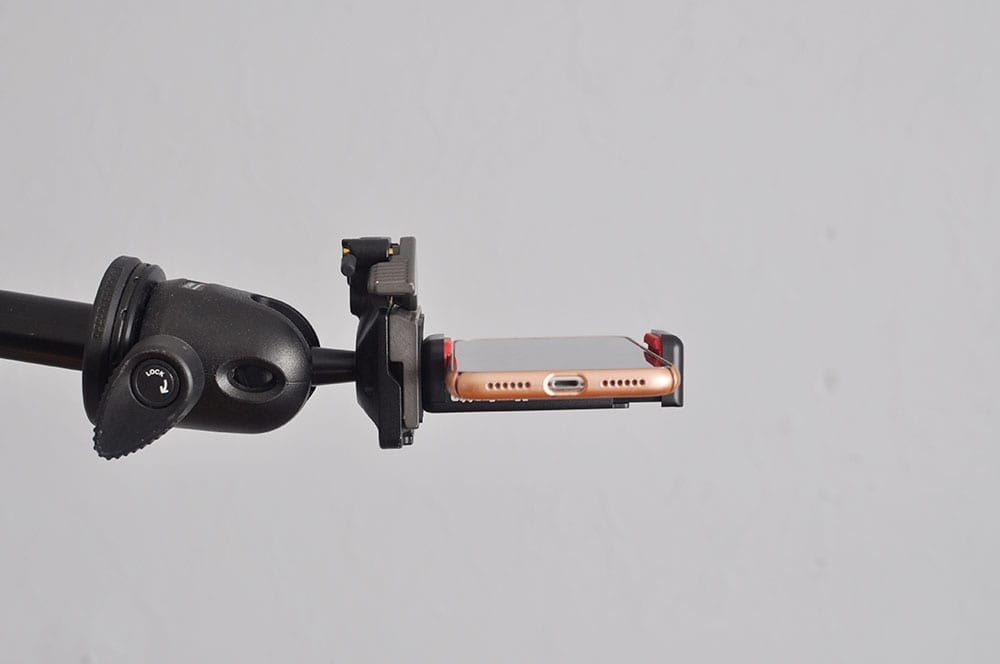
TABLETOP WITH IPHONE X
I’ve used my Manfrotto cellphone attachment for this.
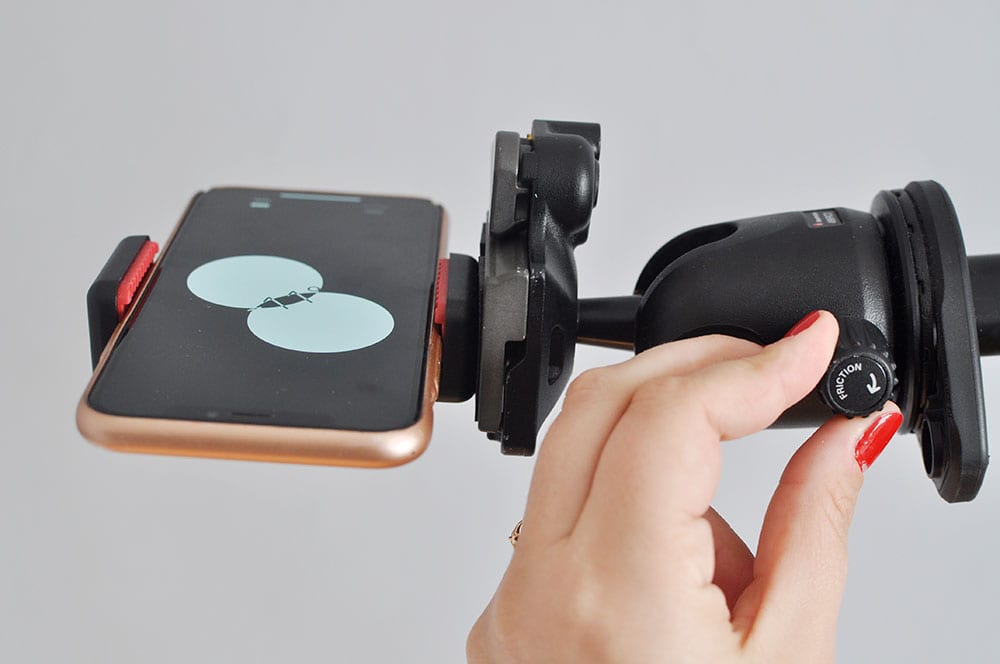
LEVEL AND ADJUST
The latest iOS comes with a Level under the built in Measure app.
WHAT MY CAMERA SEES
This is the view from the camera for tabletop videography with an iPhone X.
TIPS FOR FILMING FACE TO CAMERA
Here is my process for filming face to camera:
Tips:
- don’t use the camera’s built in “microphone”
- if you use a lavalier mic, make sure that it’s clipped onto your clothing correctly
- away from clothing
- away from hair
- hide if necessary
- think about your environment
- have a clear background,
- keep everything level
- use a leveler
- use a grid
- don’t look at yourself
- look directly at the camera
- form a connection with the viewer
- get comfortable
- dress appropriately
- make sure that anything that’s going to be on camera looks good
- probably don’t wear professional makeup
- ask yourself: “does this align with my brand?”
- come as you are, just a little more polished.
- use a clapper to sync your audio/visual
- reminder: never use your camera sound
- don’t start immediately after filming, wait a bit then start with the value, and cut the beginning out
- increase professionalism by cutting out the awkward walking to position
My filming process:
- Make sure the environment looks good
- Make sure you look good
- Start up your voice recording app (I use the iOS Voice Memos)
- Start filming and audio recording
- Talk nonsense to get the awkwardness out
- Clap
- Make magic
- Stop filming
- Send the audio recording in a lossless format
- Editing (best time)
TIPS FOR FILMING TABLETOP
Here is my process for filming face to camera:
Tips:
- It’s always best to film underneath a window
- never put a tripod on a table because of shake
- if you lean your tripod against your table, be certain you’re not the shaky type
- don’t worry if your camera is filming “upside down”, it’s SUCH an easy fix in post production / editing
- a white surface is the easiest to colour correct in post, while a dark surface is the most difficult
- make sure you have enough space in the camera for the end result / biggest project
- make the frame look like a photo
- I strongly recommend natural light
- if you’re not using natural light, you need two lights for tabletop to remove shadows
- video with artificial light is SO much more difficult to get to the same level as natural light
- background music hides a multitude of sin
- move less
- keep your Yeti Blue upright
- cover yourself with a blanket 🙂
My filming process:
- Set tripod up
- Add camera and level
- Take anything that shouldn’t be seen out of frame
- Center my “end project”
- Make the video
- Record a voice over in post
SONY VS. IPHONE FILMING COMPARISON
The difference between my $1000 Sony video camera and my iPhone X
Reasons I prefer the Sony:
- better autofocus
- softer
- truer colours
- better stabilisation